Create a Zoom Meeting within Brightspace
If you are using Zoom to teach live, synchronous classes, you will need to create Zoom meetings and make those meeting links available to your students. The two most common ways to create Zoom meetings are through Brightspace or on the Vanderbilt Zoom web platform at vanderbilt.zoom.us. This guide will walk you through these two options, each of which have their own pros and cons.
If you haven’t already created an account with Zoom, you will want to do that first. Be sure to use your vanderbilt.edu email address when you create your account. Here are instructions on how to register:
- Registering on Zoom and creating your account – Start here!
Create a Zoom Meeting in Brightspace
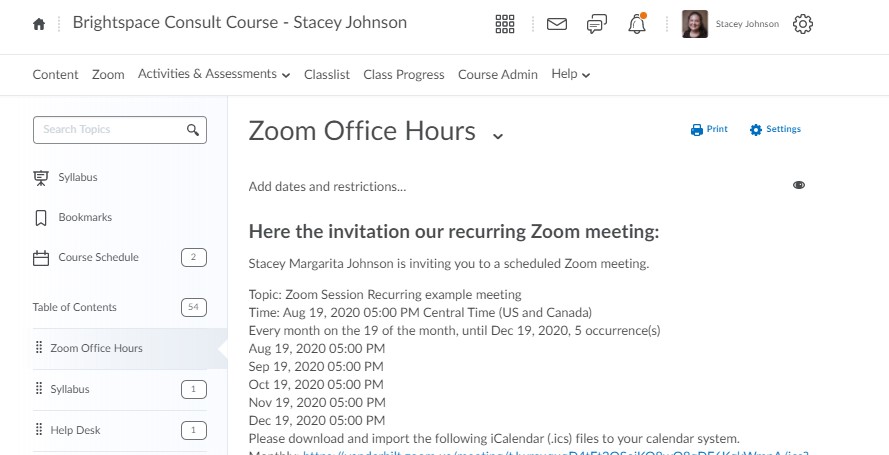
Brightspace has a Zoom integration which allows instructors to create meetings that are closely linked with the course in which the meetings are created. For meetings created in Brightspace, meeting participants must be on the Brightspace Classlist for that course and must access the meeting through Brightspace. The meetings will appear on the Brightspace calendar and meeting recordings and transcripts will be accessed by students through the same Zoom integration. This option is ideal for those who want a simple way to limit meeting participants to just those enrolled in a particular Brightspace course. This method will not work for scheduling office hours for multiple groups of students or for inviting alternate hosts, co-hosts, or guests into a Zoom meeting.
To create Zoom meetings in Brightspace, follow these instructions:
- Create a Vanderbilt Zoom account (don’t use a previously created account). You can do that by following these instructions. Once you have created an account, you can return to your Brightspace course.
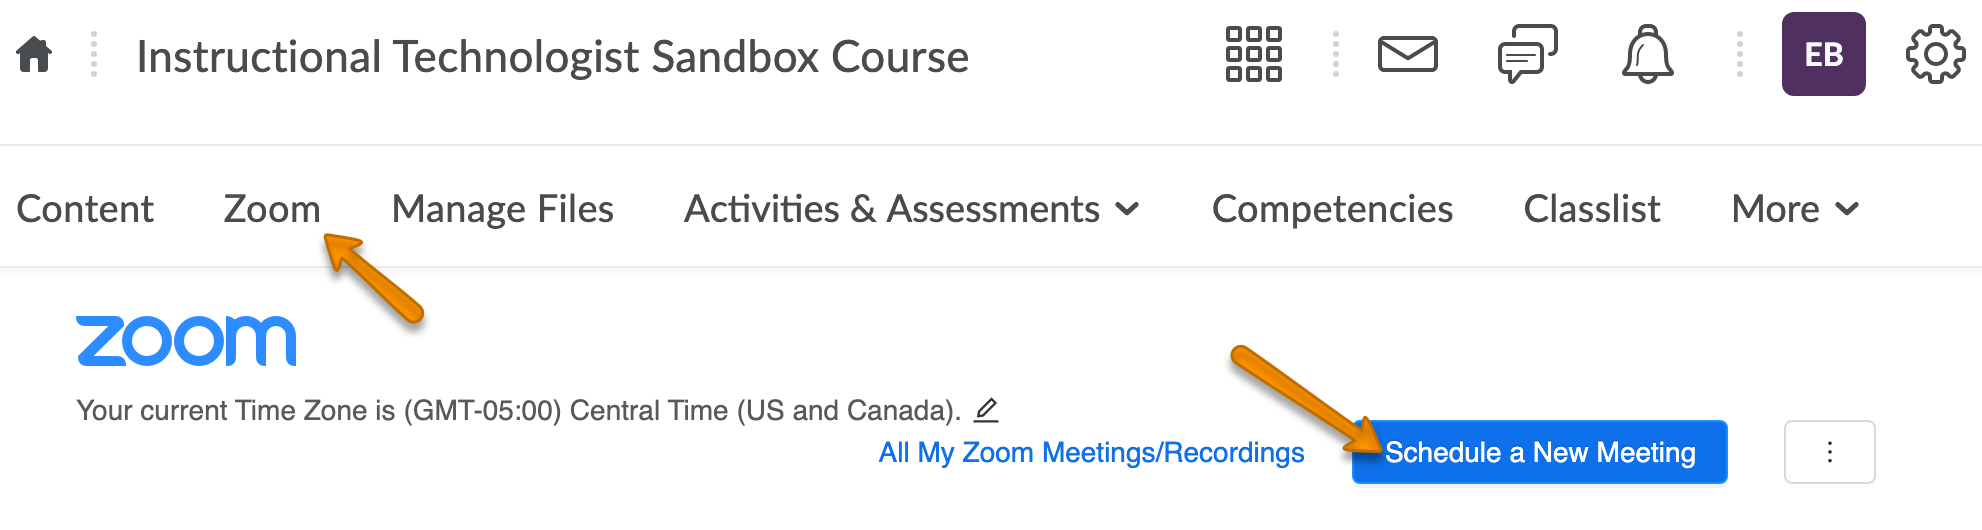
- Add Zoom to your Navbar if you haven’t already.
- Click on the Zoom tab in your Navbar. Click Schedule a New Meeting. Note: The first time you use Zoom, you may have to “allow” Zoom to integrate with your course.
- Enter the information for your meeting. If this will be a weekly or daily recurring class, you can save yourself a lot of time by creating a Recurring Meeting. This example below shows a class that occurs every Tuesday at 11am, and lasts for 2 hours.
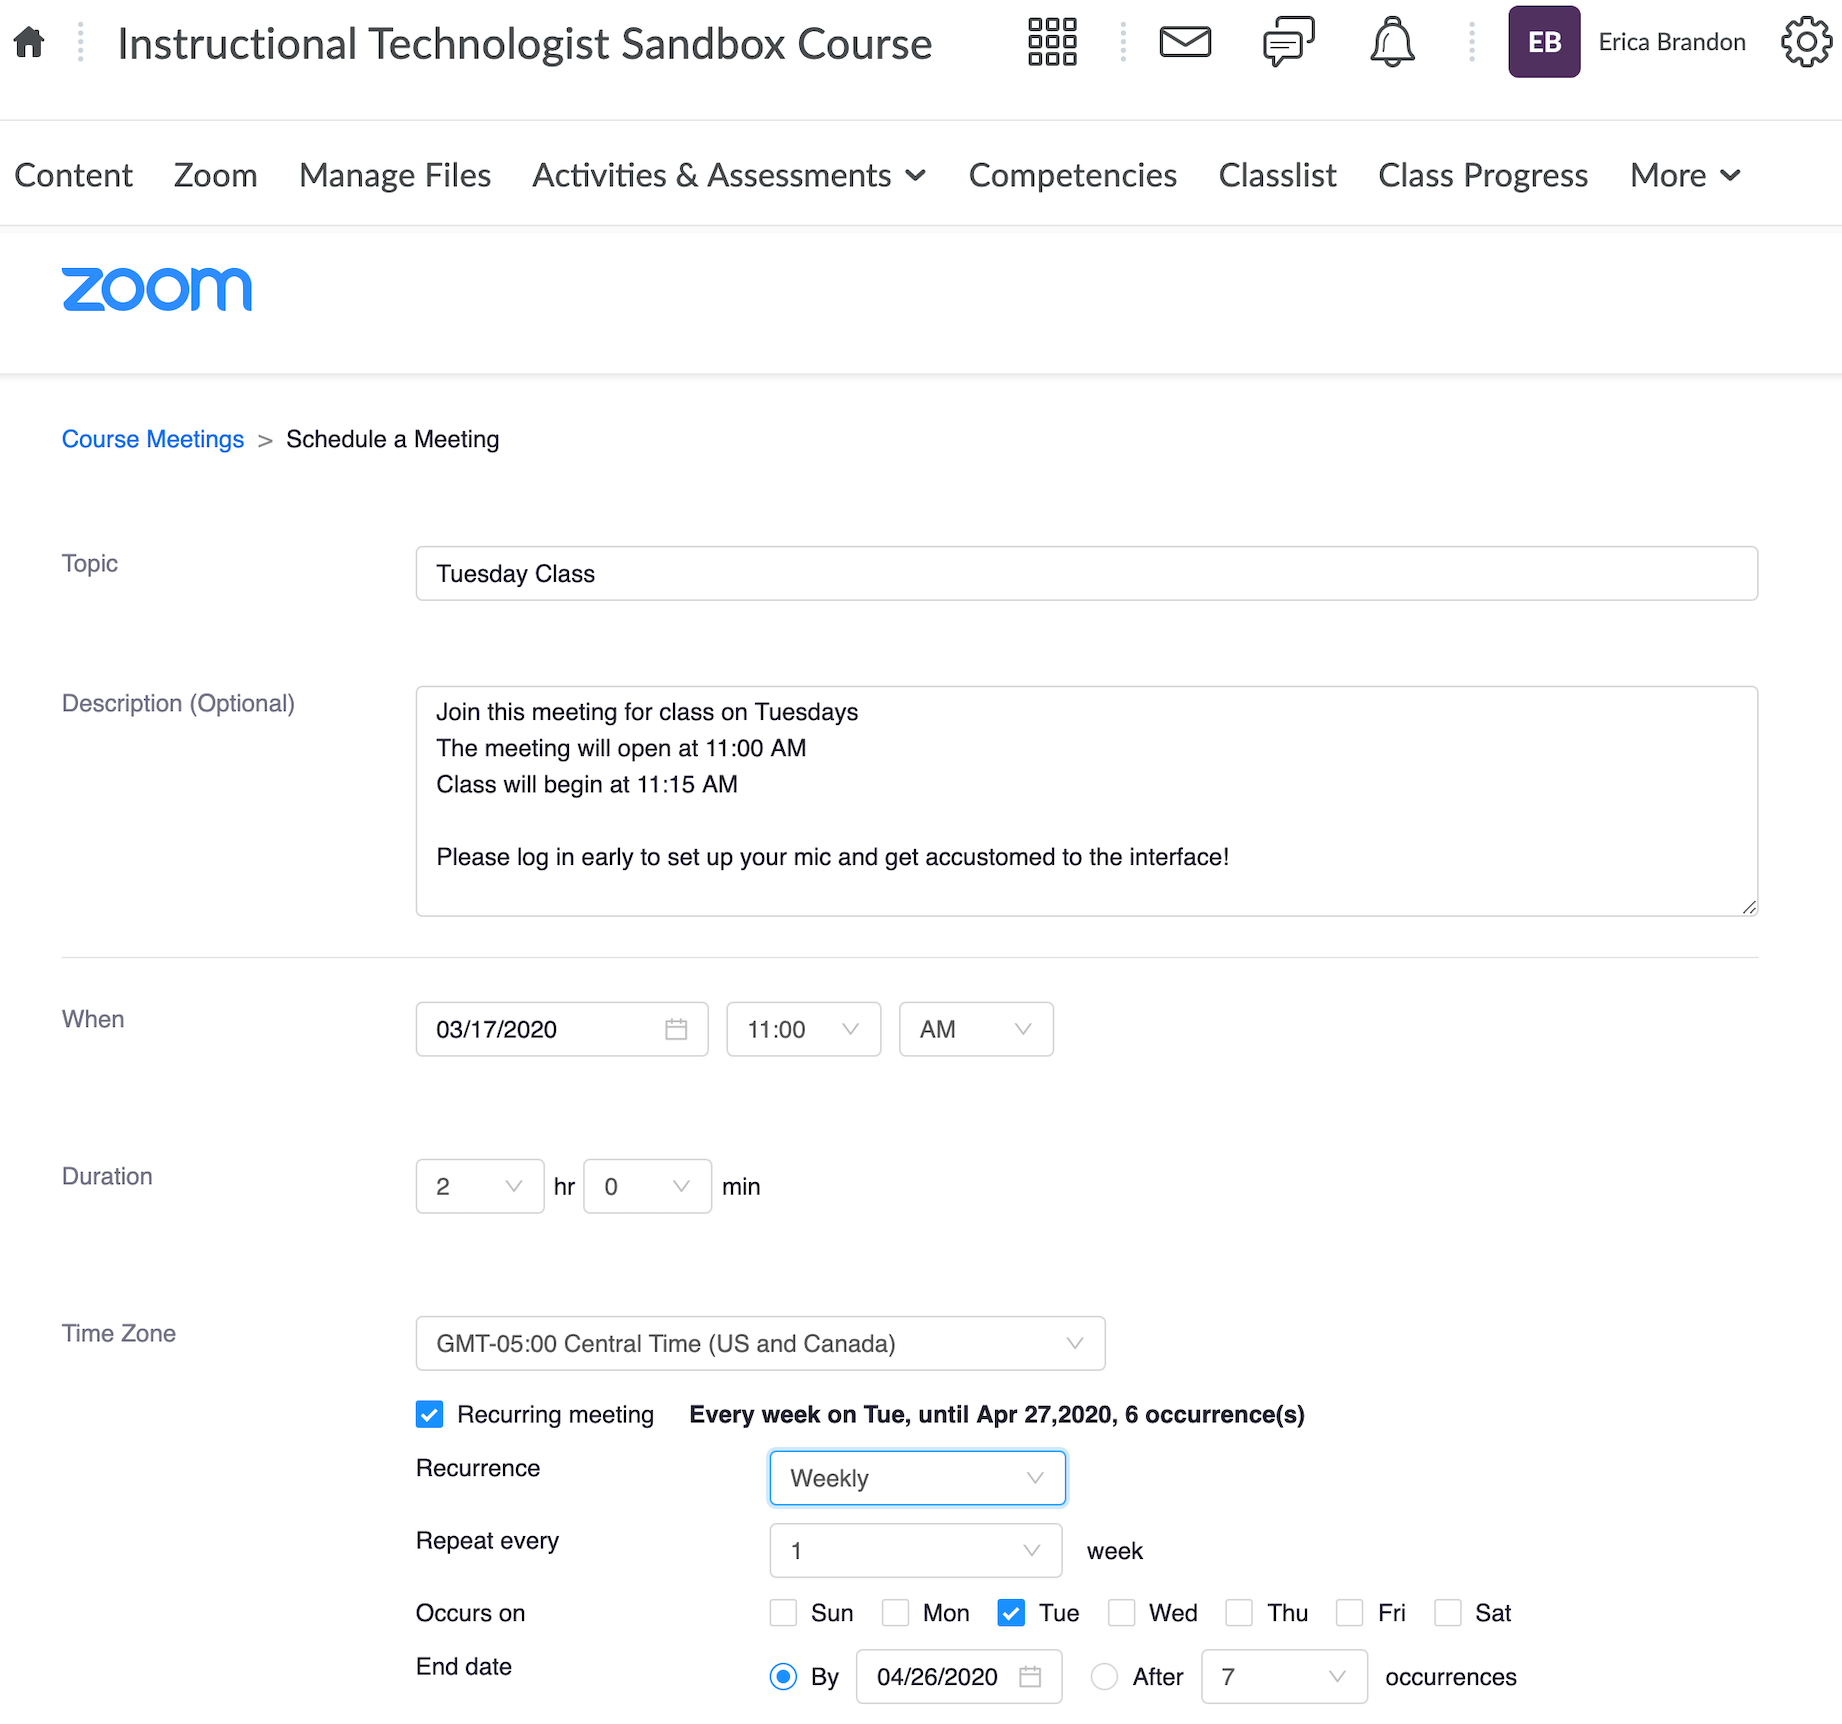
- After you schedule the recurrence, you will see more options for your meeting. They are explained here:
Will your students be learning outside of Vanderbilt’s campus? Consider turning off video by default to ensure your synchronous meetings are accessible to students.
- Registration – this is not needed. This requires students to register for the class ahead of time. Leave this unchecked.
- Video – if you would like yourself and/or students to be prompted to activate their camera when joining, you can indicate that here. During the live session, you will have the ability to toggle cameras on/off regardless of this setting.
- Audio – “Telephone” means microphone here. You will likely want your mic activated, and possibly your computer audio. Check “both”.
- Meeting option – We suggest selecting “Mute participants upon entry”. Depending on whether you plan to record your class (more on that question here), you may also choose “Record the meeting automatically”.
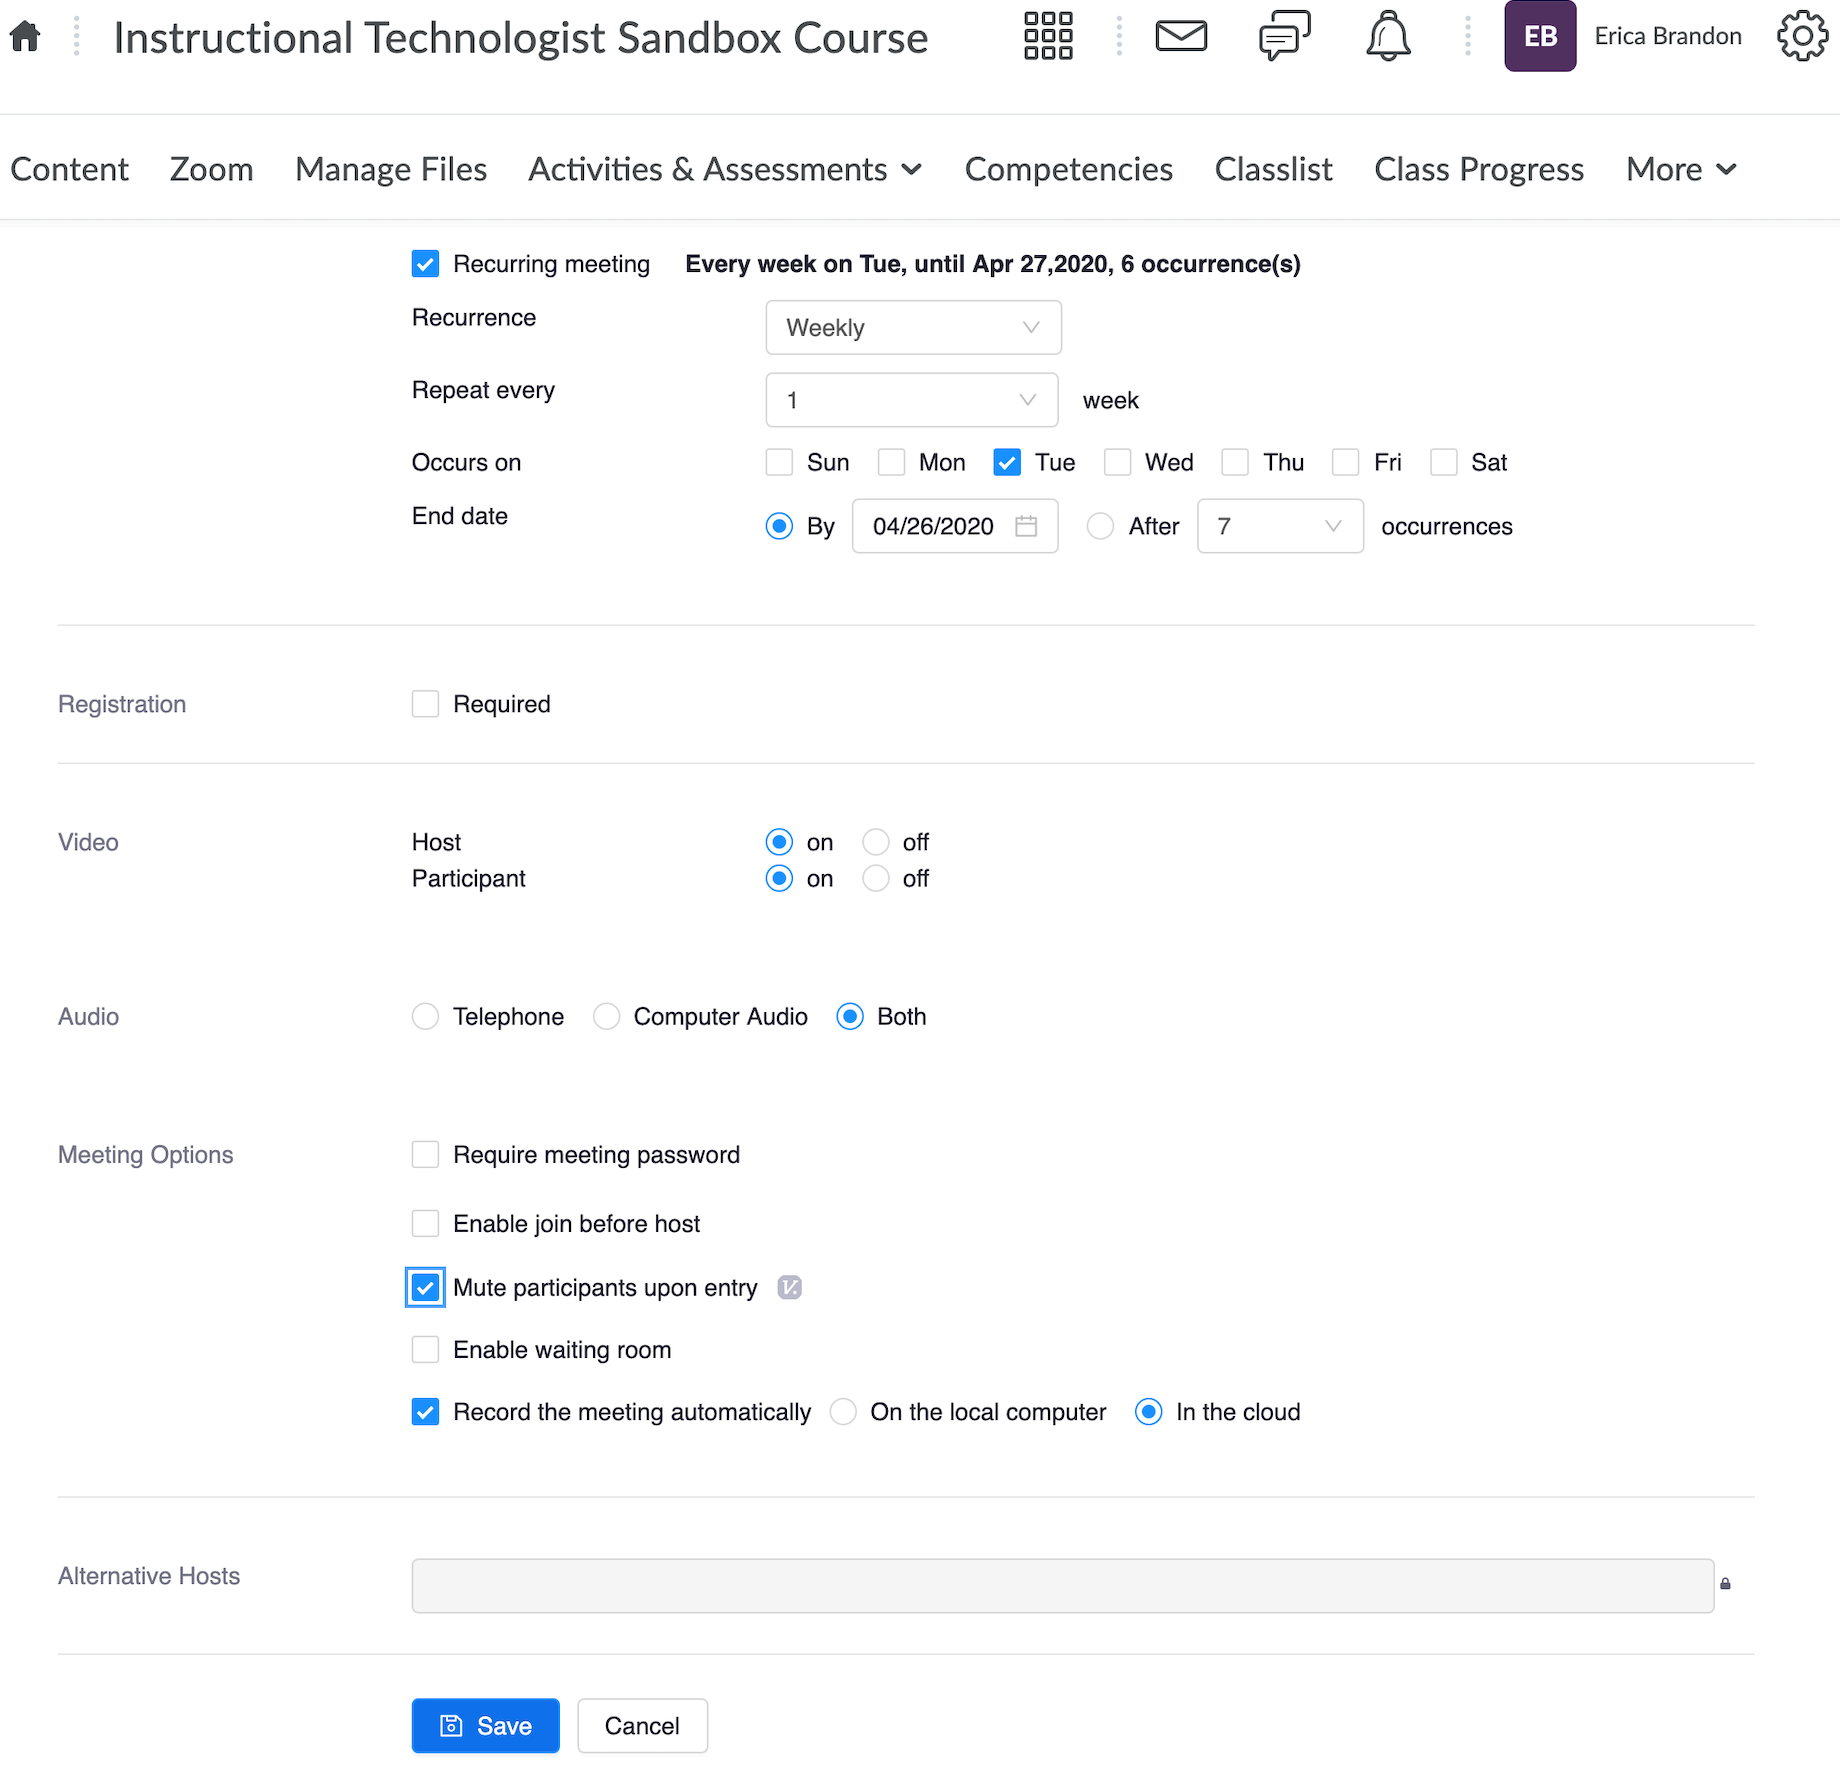
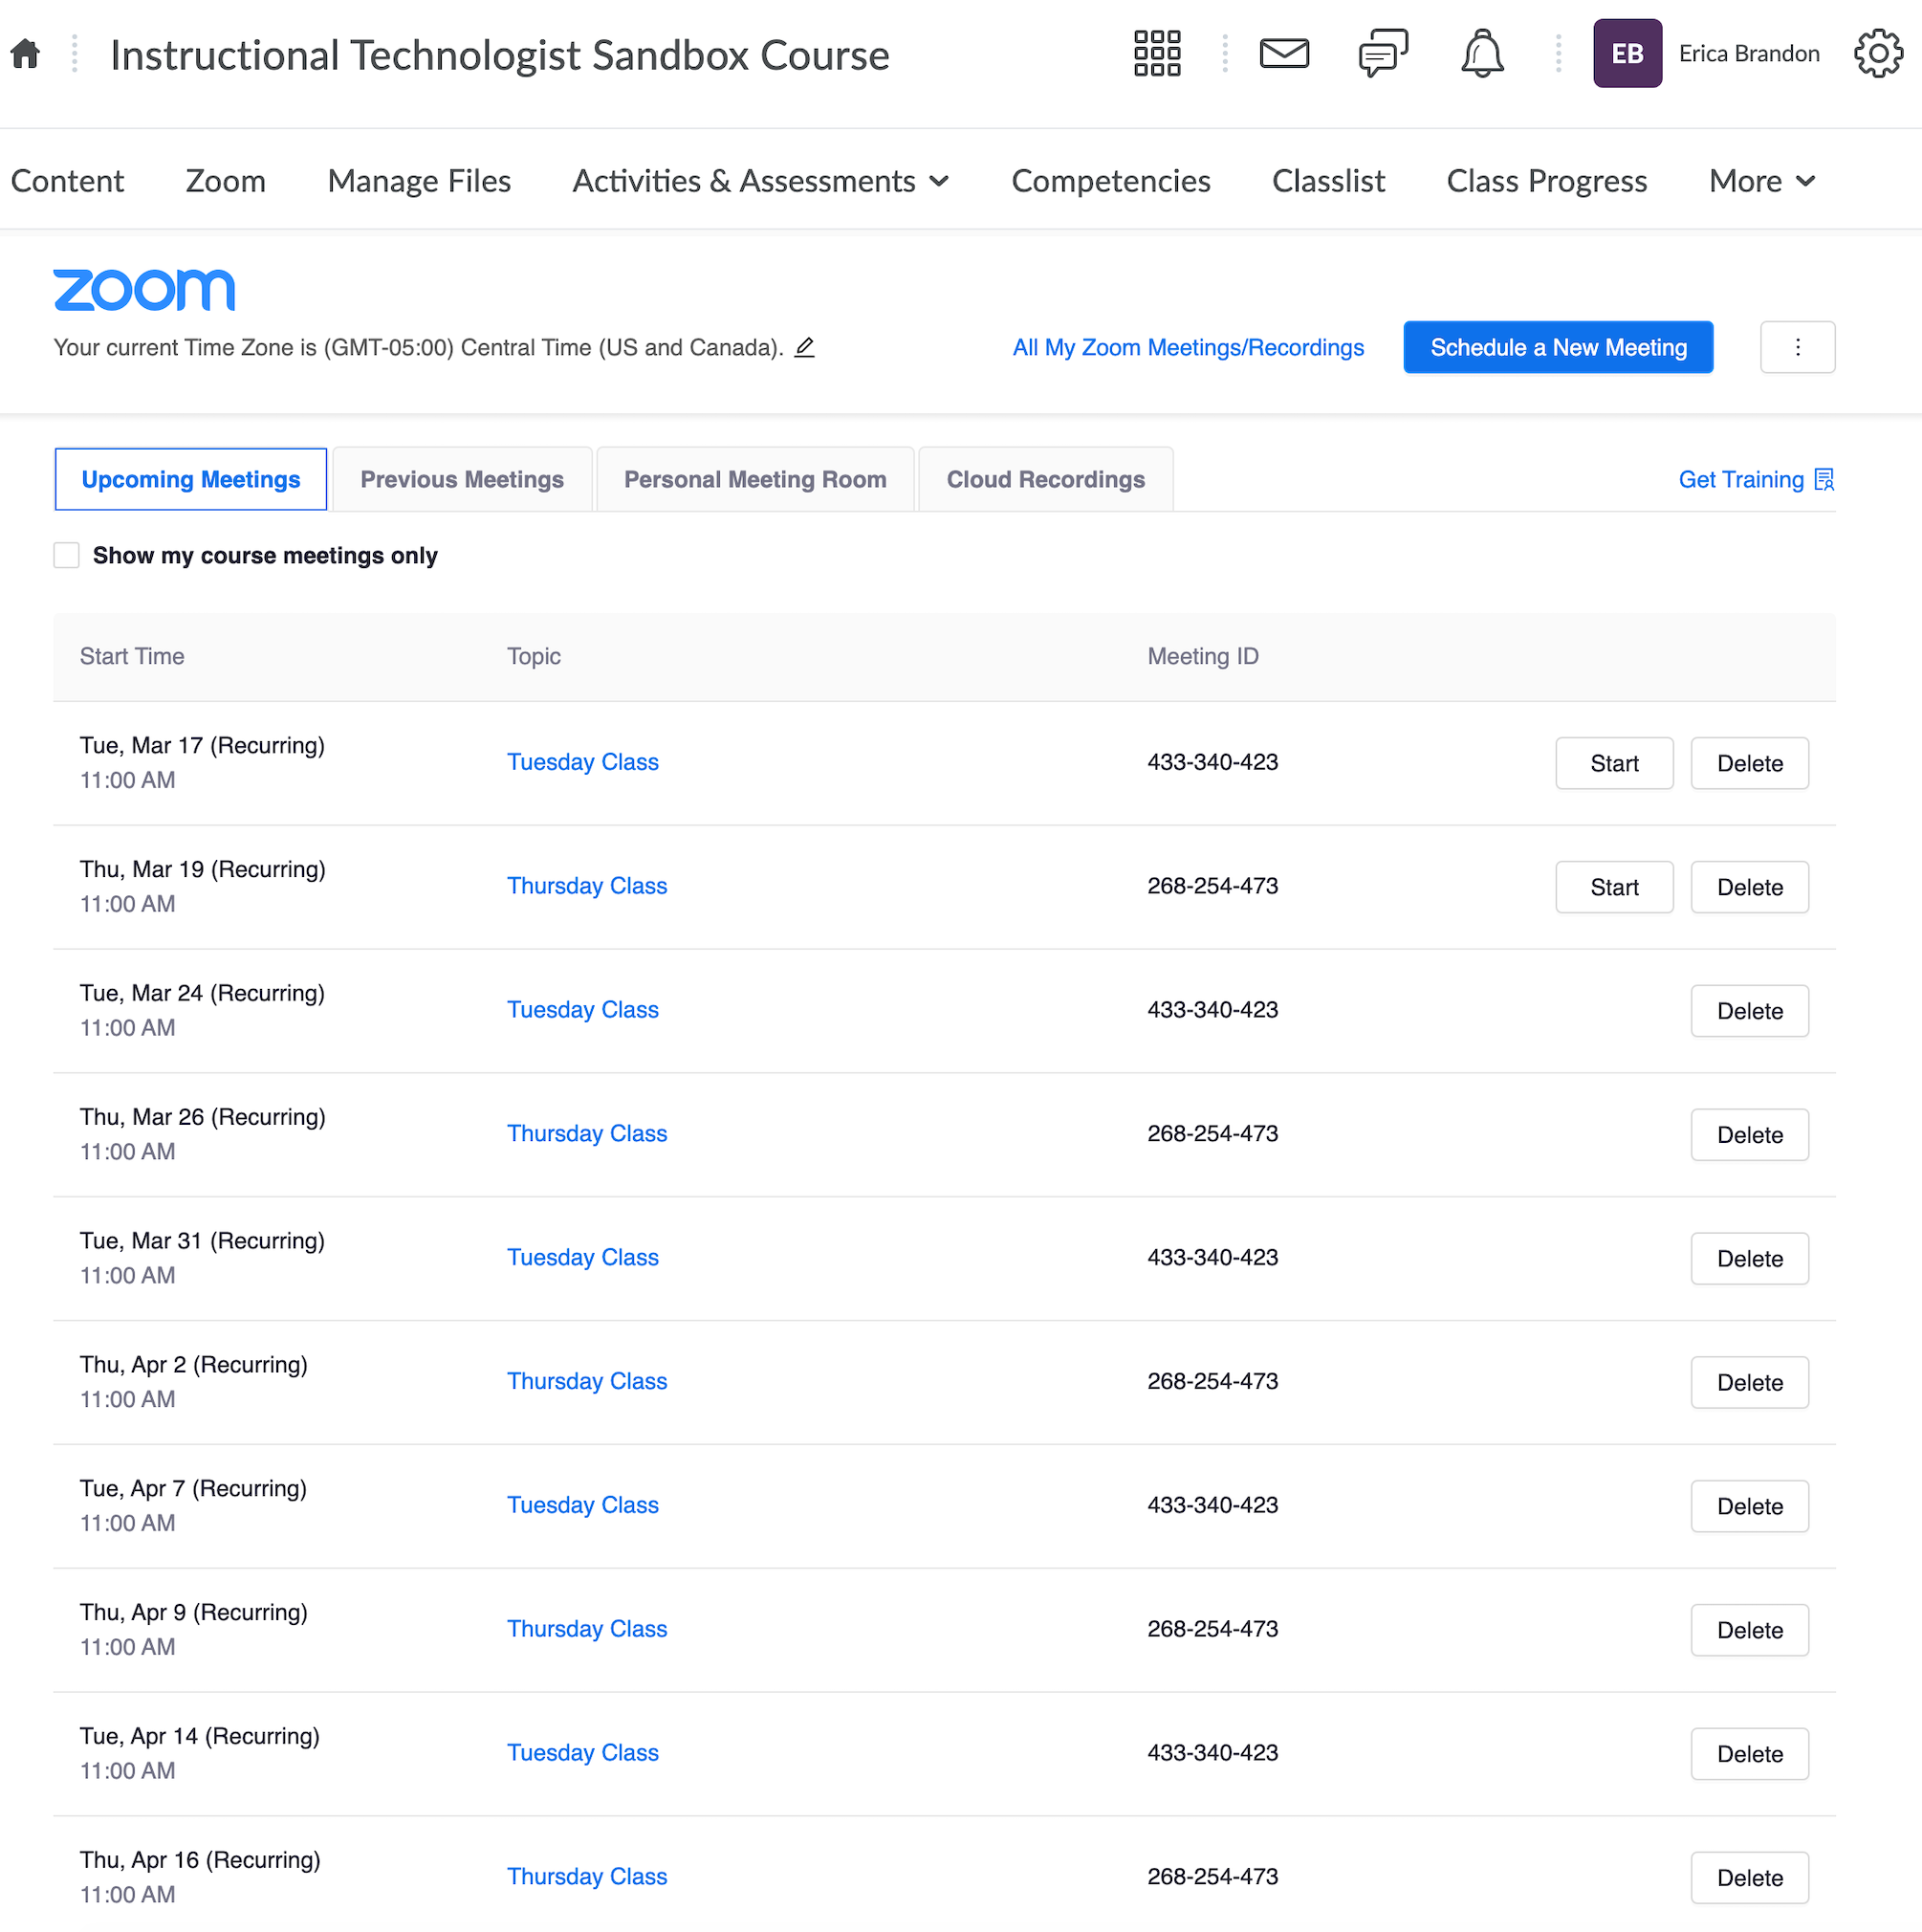
Be sure to click Save when you are finished. Go back to the Zoom tab, and you will see all of your scheduled meetings displayed. In this example, there are recurring Tuesday/Thursday classes.
Create a Meeting on the Zoom Website
If you want to add alternative hosts to your meetings or invite attendees other than the students on one particular Classlist, you will need to use the Zoom web interface to schedule your Zoom meetings. This allows you more options in scheduling, but requires the additional step of sharing the Zoom meeting link with your students. This option is ideal for those who want the flexibility to access all of Zoom’s available features.
To create Zoom meetings on the web, follow these instructions:
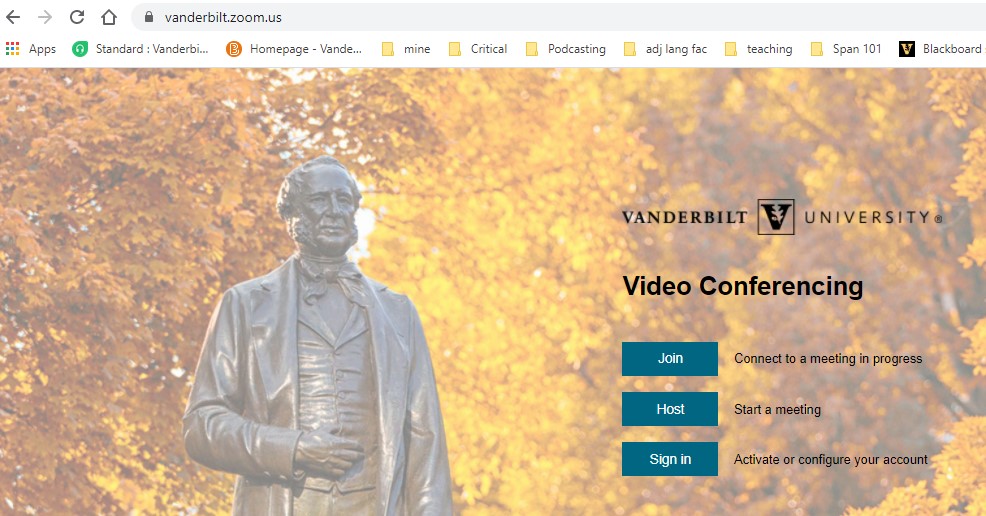
- Navigate to vanderbilt.zoom.us in your browser. Choose the option to “Sign In” and log in with your VUNetID and password.
- Create your Zoom meetings just as described in steps 4-6 above.
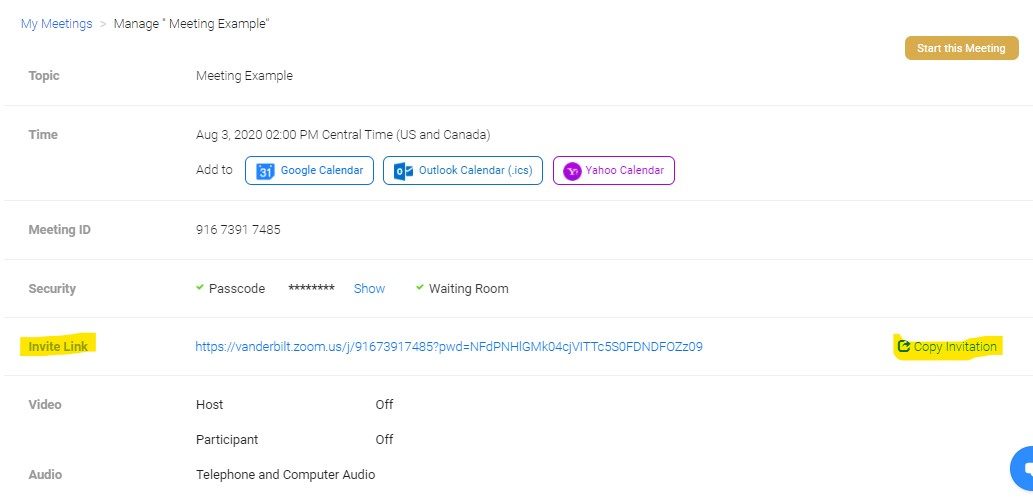
- After your meeting is created, the next screen will present a summary of your meeting information along with an opportunity to copy either the meeting link or the entire meeting invitation. You can share either or both with your students.
- Finally, to share your meeting link with your students, return to your Brightspace course. You can add the meeting invitation to the description area of your module, or add the link to any module by clicking Upload/Create and then Create a Link.