
How do I create modules and add content to them?
You must create a module before you can add topics (content items). You can create sub-modules (modules within existing modules) to establish a deeper hierarchy. Once you create modules, you can add dates, restrictions, or a description, and you can populate them with topics. You can drag and drop files from your computer into a module, or you can select from the Content tool’s New and Add Activities buttons to create new topics or add existing course objects.
For a printable & shareable PDF version of this resource, click here.
Creating Modules and Adding Content
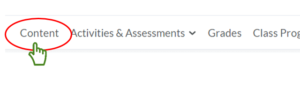
1. Click on the Content tab in your NavBar.
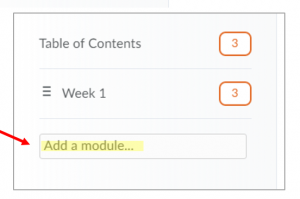
2. Under Table of Contents, enter a module name in the Add a Module field found at the bottom. Hit Enter/Return when you’re done to create the module.
3. Drag the reorder icon to the left of the module title to move them up or down the list. ![]()
4. To add content items to the module, click Upload/Create and select the item, or drag and drop content into the module.
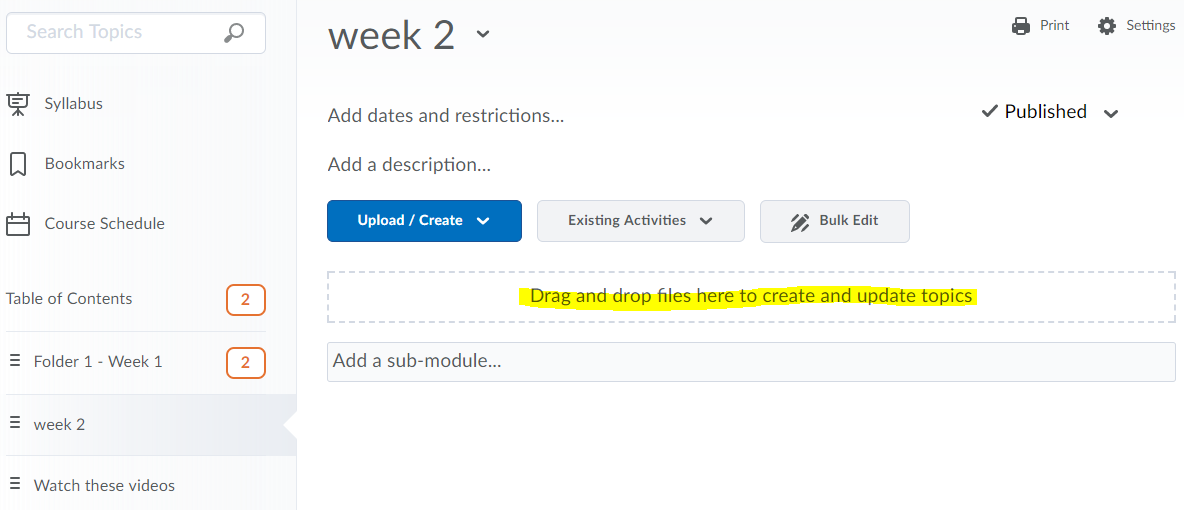
Notice in the above image right under the module title “week 2” there is text that reads “Add dates and restrictions…” and “Add a description…” If you hover your mouse over that text, they will turn darker grey, and if you click on them, they will open up and allow you to add more detail. The “Add a description…” field is especially useful! When you click on that, it opens up into a text box where you can add any text, images, video, or links to anything you want! This is a great way to give more information about the module or even link to course activities.