How do I Host a Virtual Classroom Session?
The first time you host a Virtual Classroom will be a new experience for you. This guide will help walk you through some of the options, windows, and screens you will encounter as you get ready to host your session.
Please note: Recorded Virtual Classroom meetings are available only within the course they were created, cannot be downloaded or edited, and are retained for only 14 days. If you would like to retain recordings of these meetings for longer periods, please consider using Kaltura Capture to record your Virtual Classroom meetings.
Host a Virtual Classroom Session
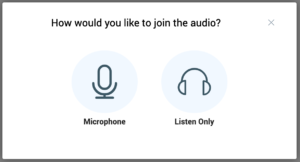
STEP 1: When asked what audio to use, select Microphone.
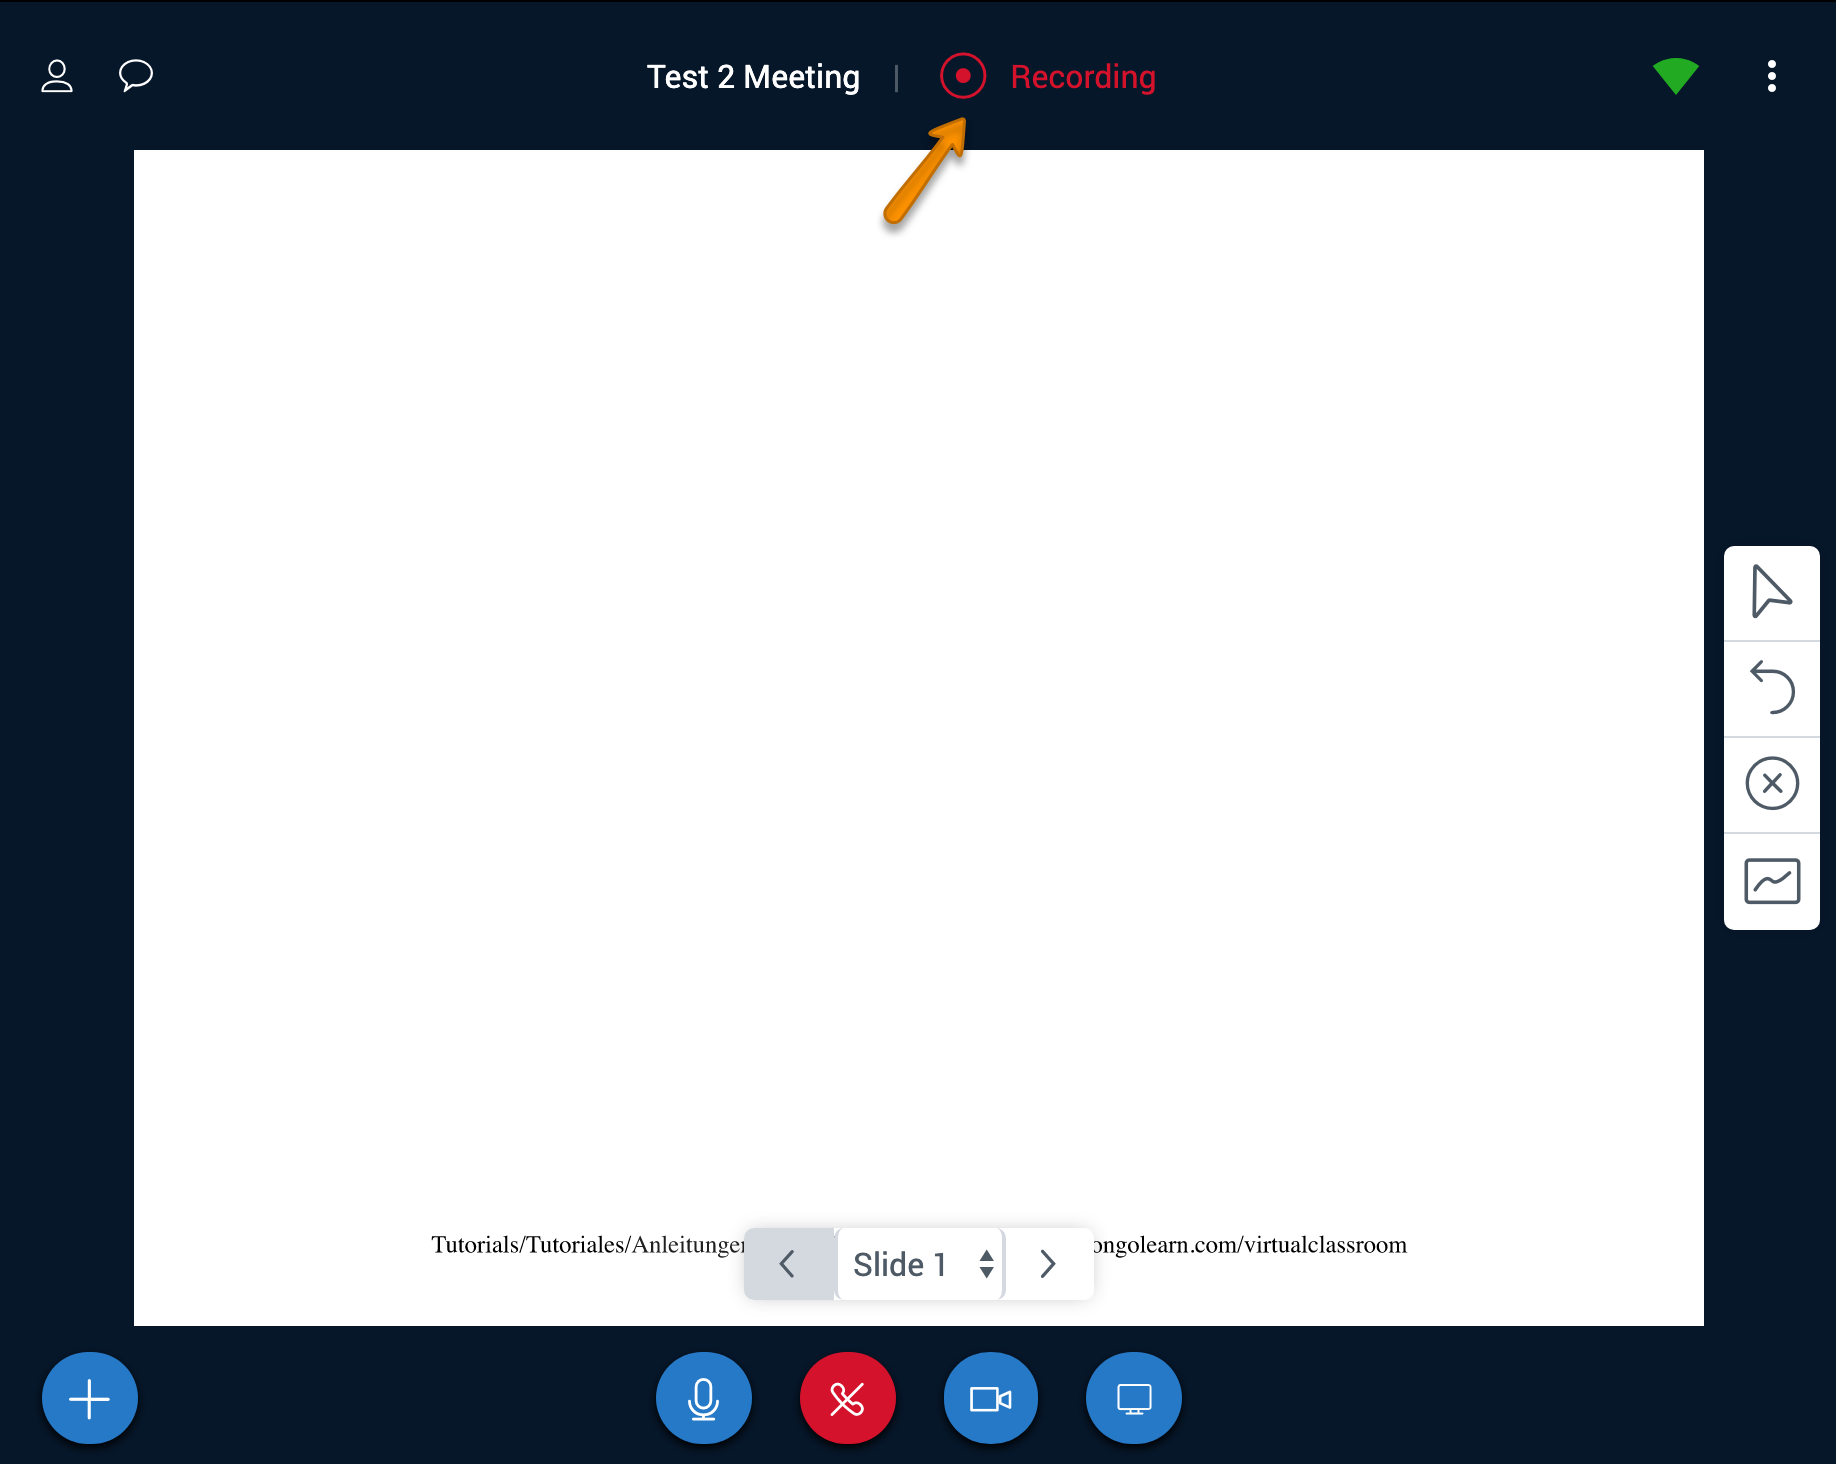
STEP 2: If automatic recording was selected when the meeting was created, notice the Recording indicator. If you decide to stop the recording, you can click this button.
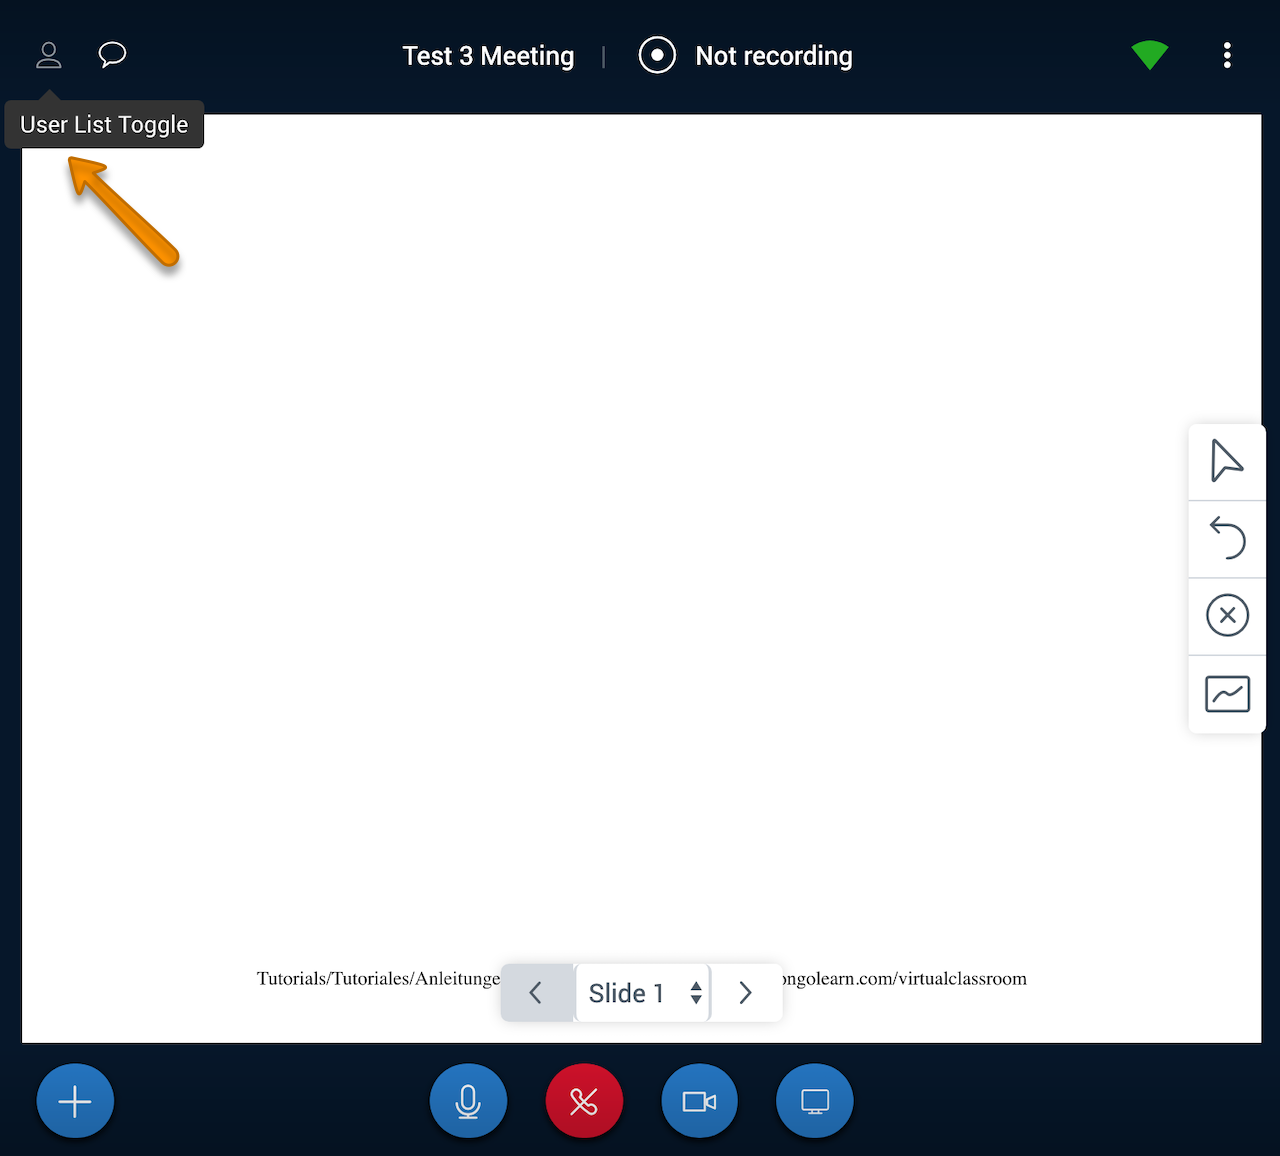
STEP 3: Clicking the User button will open a pane on the left side of the screen where all users currently in the session will be listed. Additionally, the public chat area will appear.
STEP 4: Clicking a user provides the instructor with options to chat, make that user a presenter, remove the user, or promote the user to moderator (which gives them the same control as the instructor).
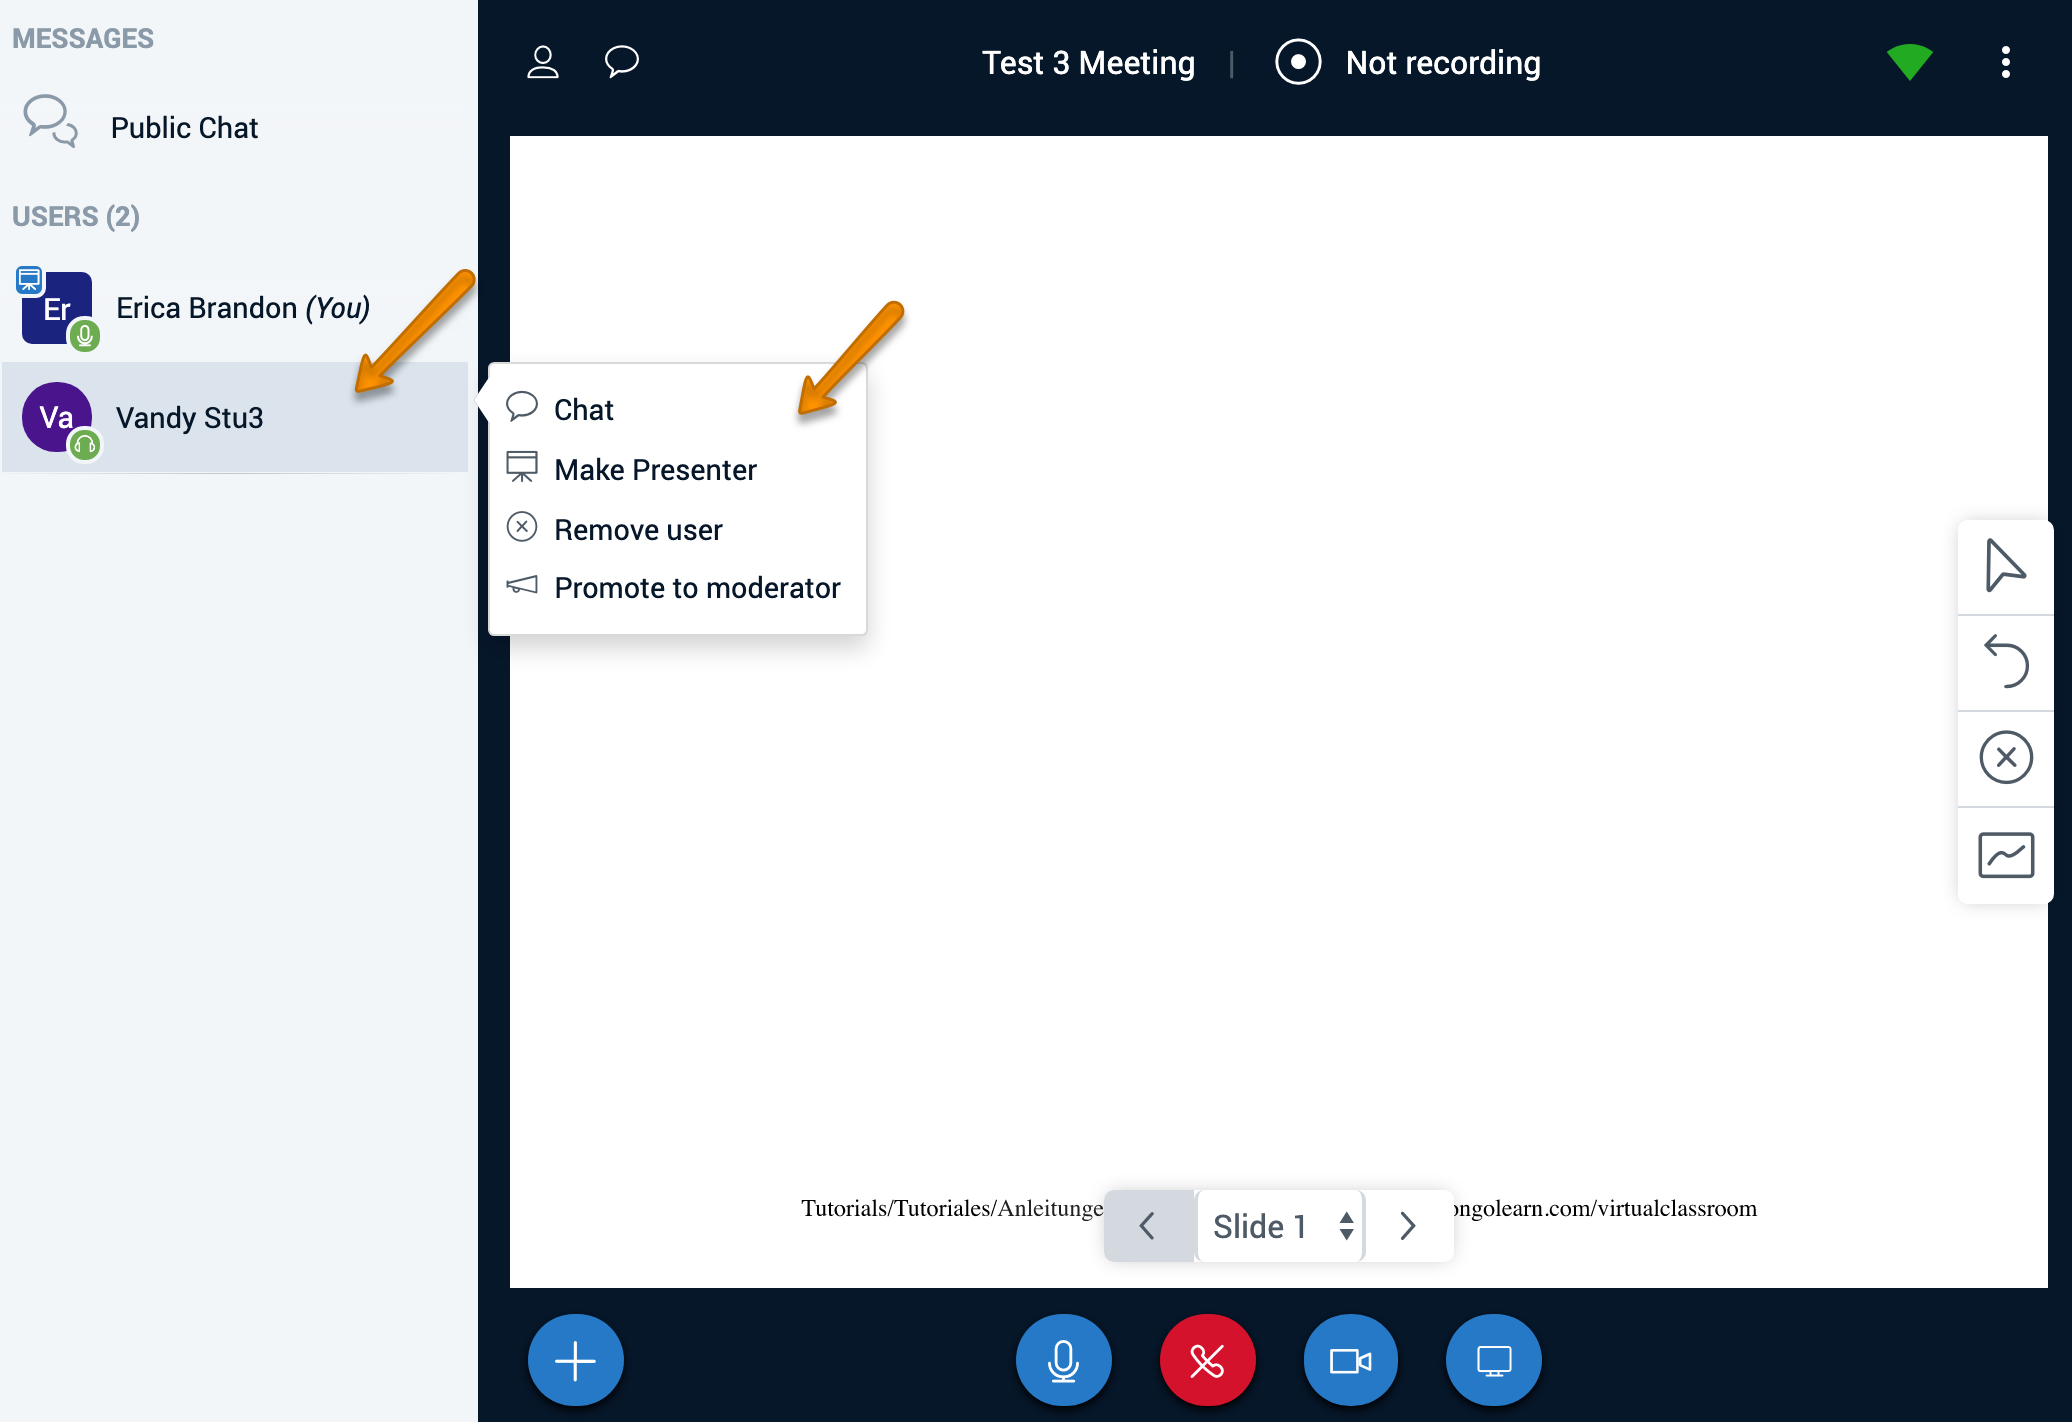
STEP 5: Click the + button to mute all users, initiate a poll, or upload a presentation.
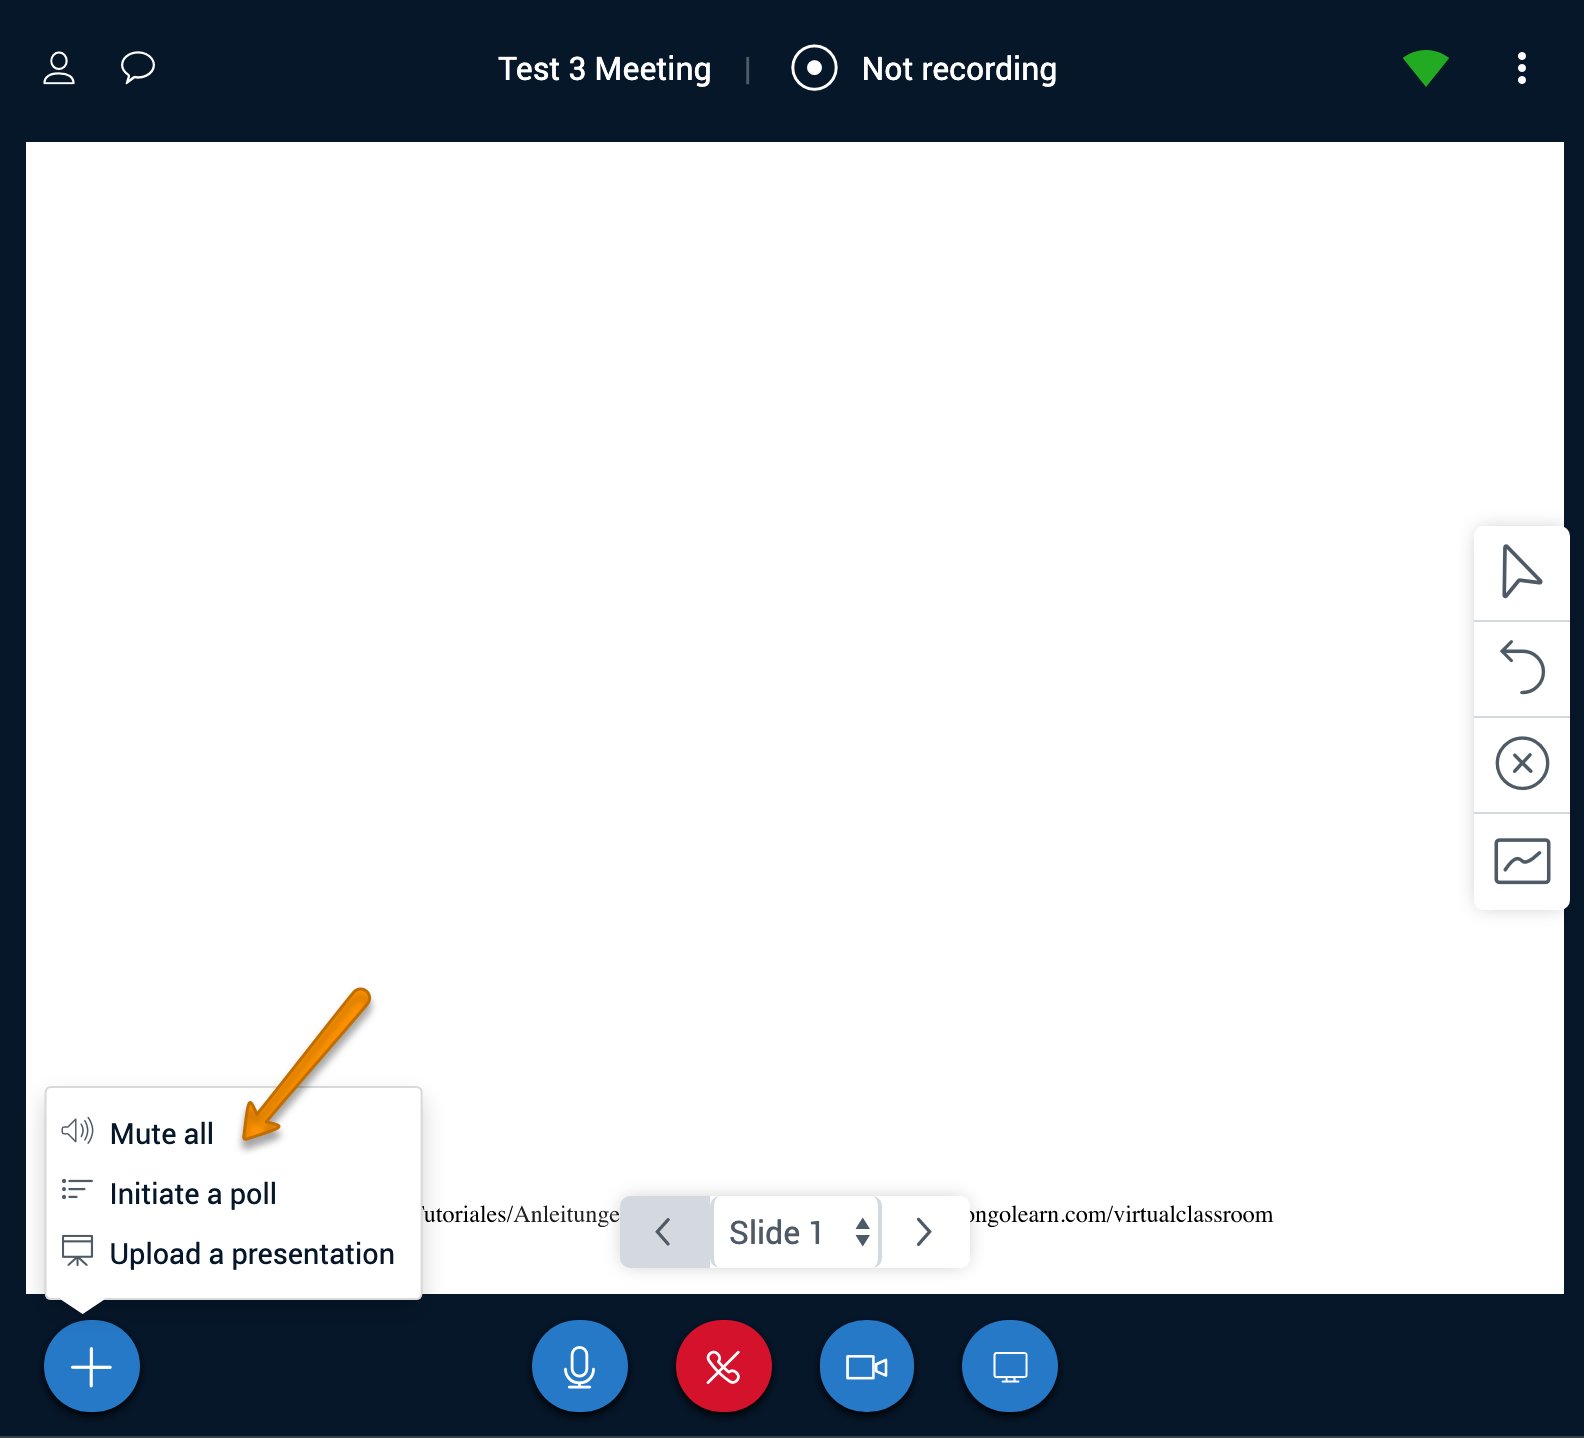
STEP 6: The buttons at the bottom of the session window allow you to mute yourself, leave the session, activate your webcam, or share your screen.

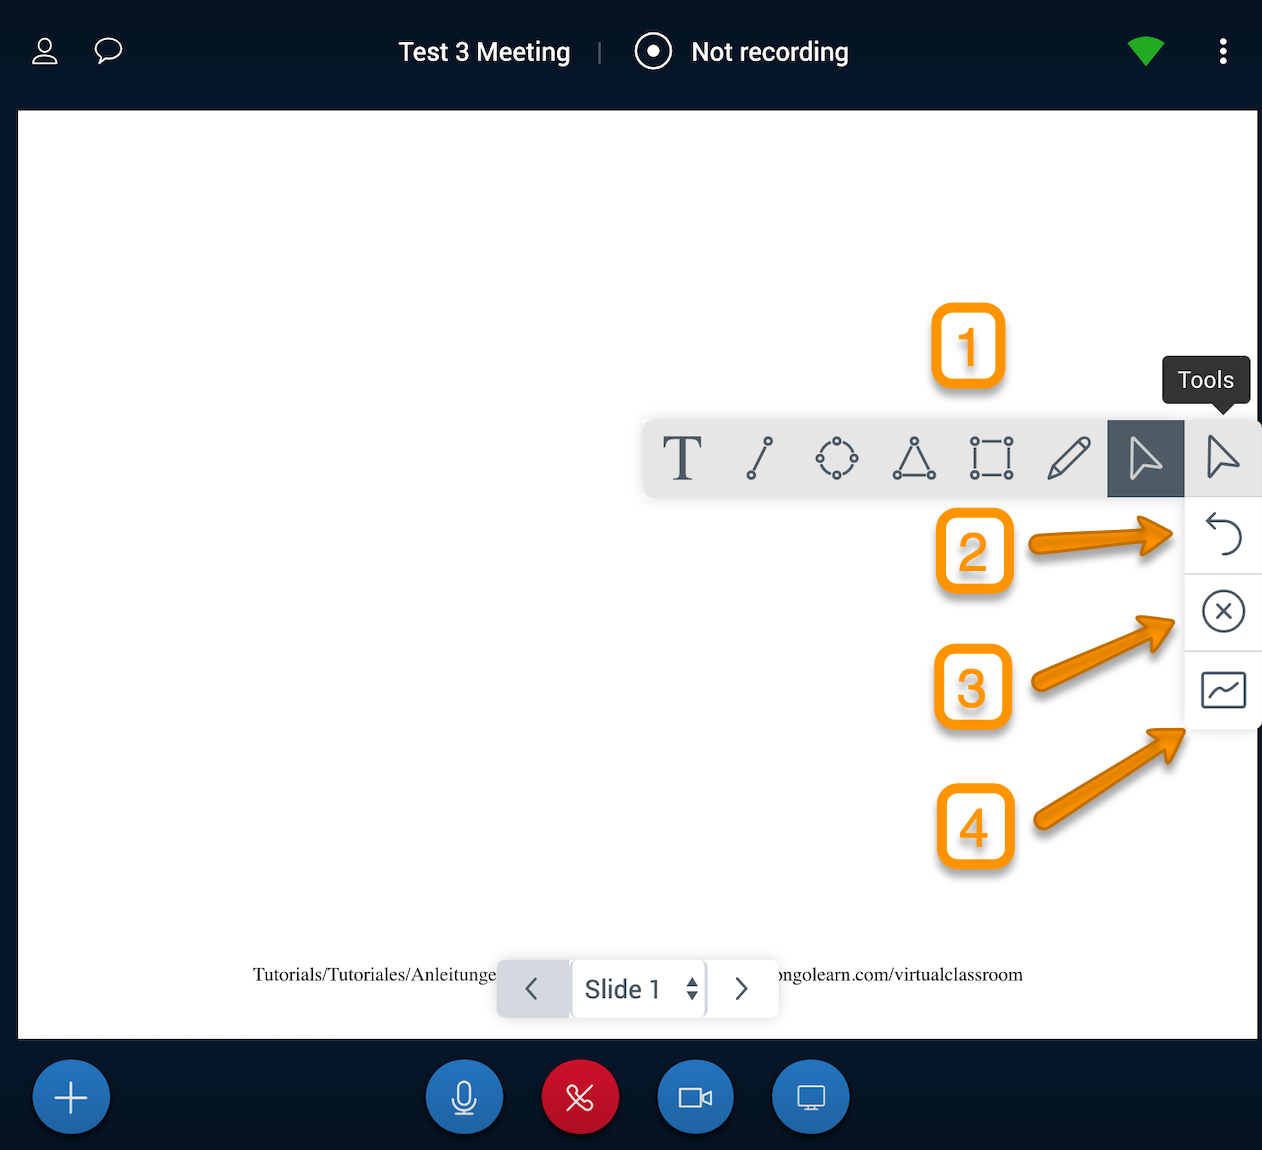
STEP 7: The toolbar on the right side of the screen contains various tools for the annotation area
- Draw/type tools
- Undo last annotation
- Clear all annotations
- Turn multi-user mode on
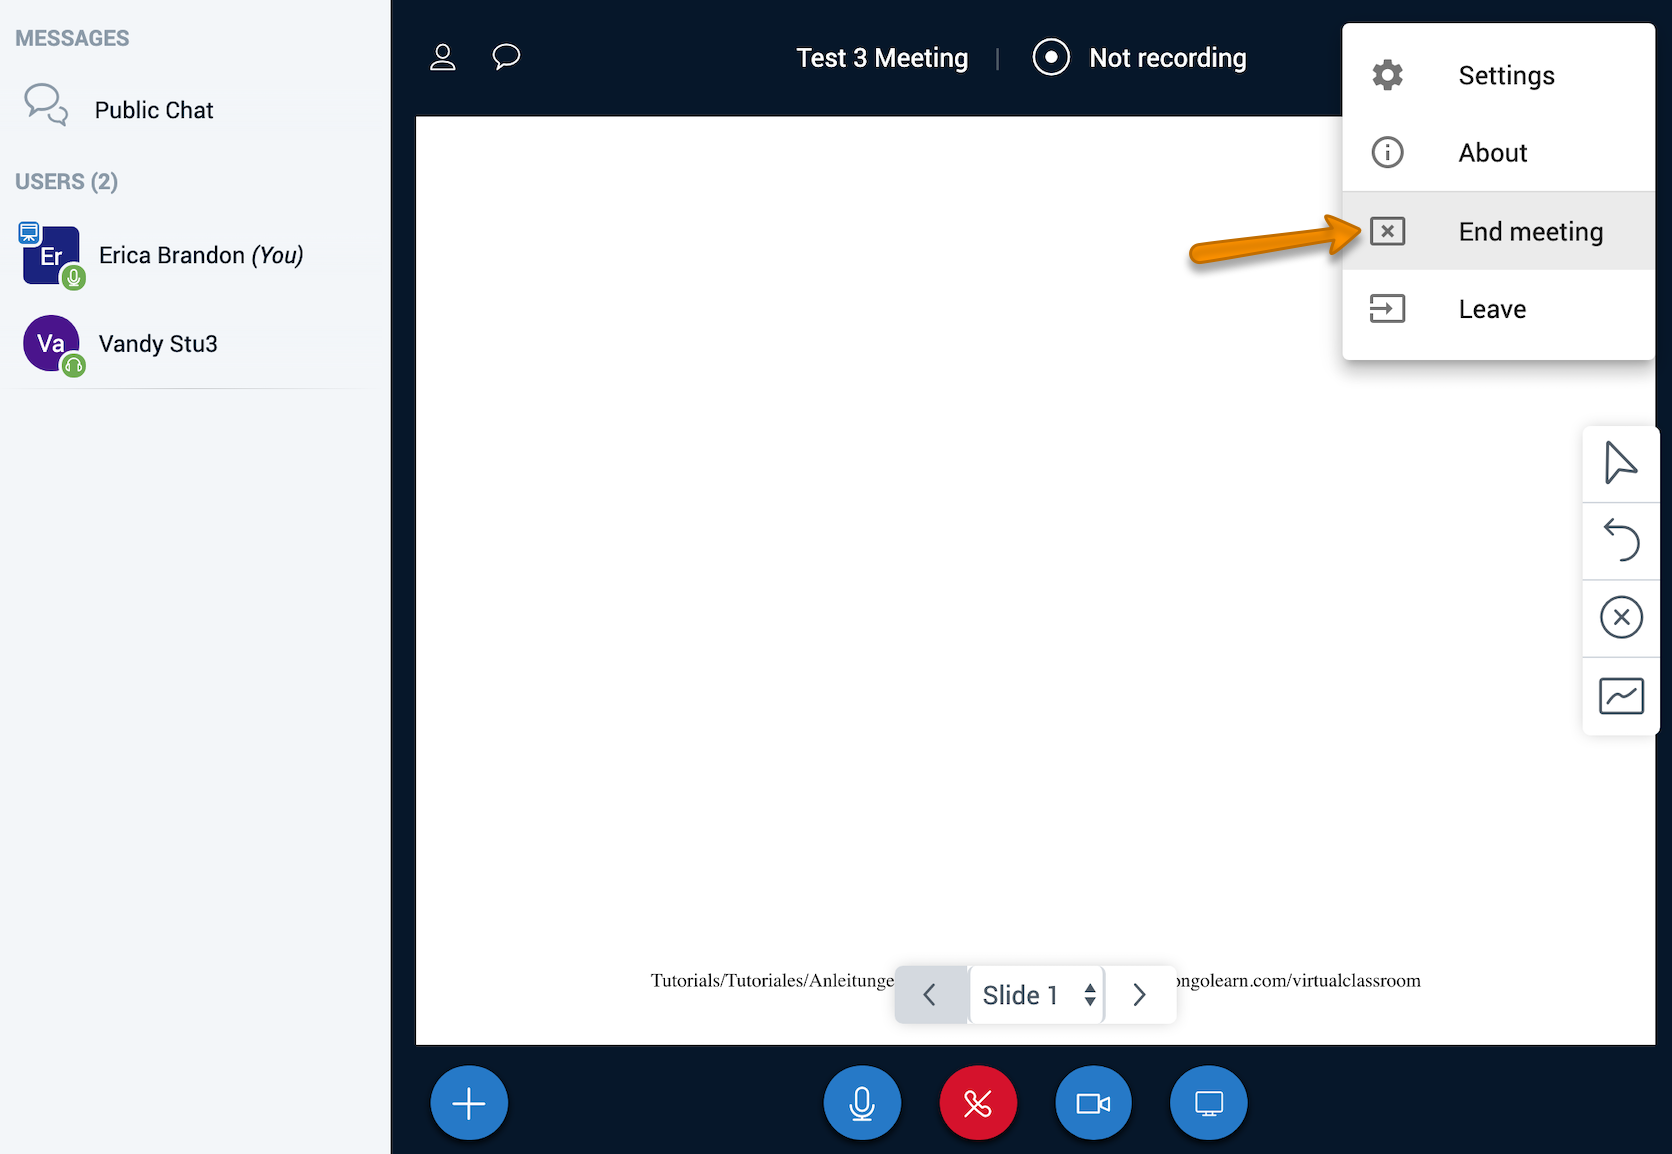
STEP 8: To end the session, click the three dot icon in the upper right corner, and select End meeting.

