
Creating Group Discussion Topics
Beginning in May 2023, a new interface for creating and editing discussion topics is available. Check out our guide on this new interface to learn more!
Discussions can be set up for the entire class, or they can be restricted into smaller groups. If your class is divided into groups, discussions can be a great way for them to plan, communicate, and share ideas. You can also create a Discussion that is restricted to course Sections (01, 02, etc.) if you have a multi-section course.
Note: Once a Discussion Topic has been created, you cannot change it from an open topic to a group topic (or vice versa).
There are two ways to create group discussions. One is with the Discussion tool, and the other is when you are creating your groups. This guide will help with both methods.
- Make Group Discussions with the Discussion Tool – when Groups are already created
- Make Group Discussions when you initially create a Group
Make Group Discussions with the Discussion Tool
In order to use this method, you must have already created groups. Use this guide to learn how to create groups. You also must have created a group Forum. If you’re not familiar with the Discussions tool, it will be helpful to visit our guide on Understanding the Discussion Tool.
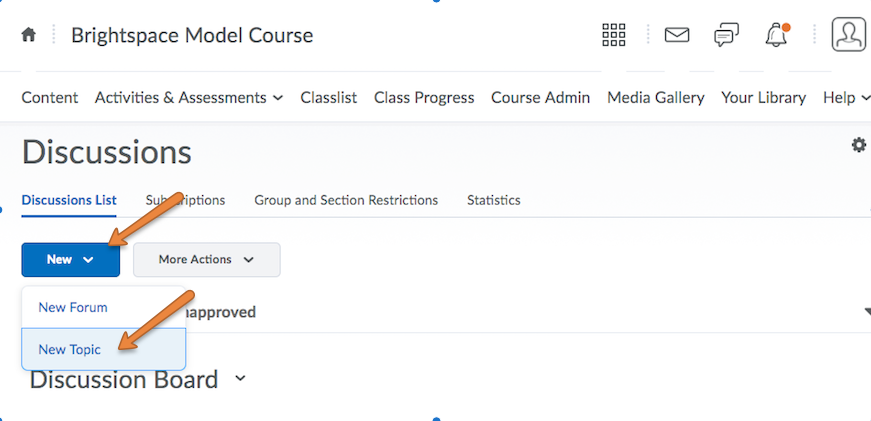
- Start creating your group discussion by going to the Discussion tool (Activities & Assessments -> Discussions). Click on New and select Topic.
- Give your discussion topic a Title and Description. This will be visible to all groups.
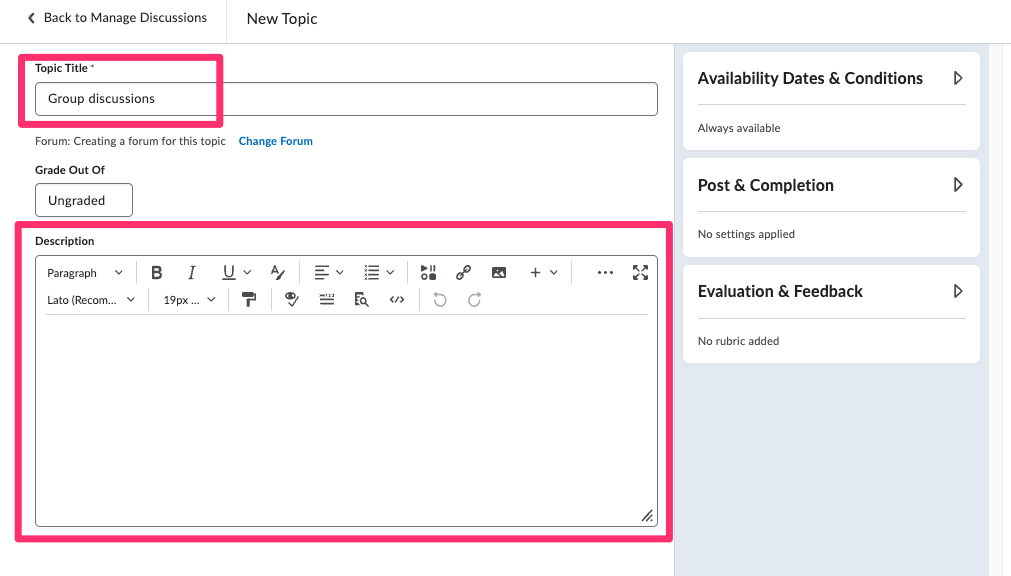
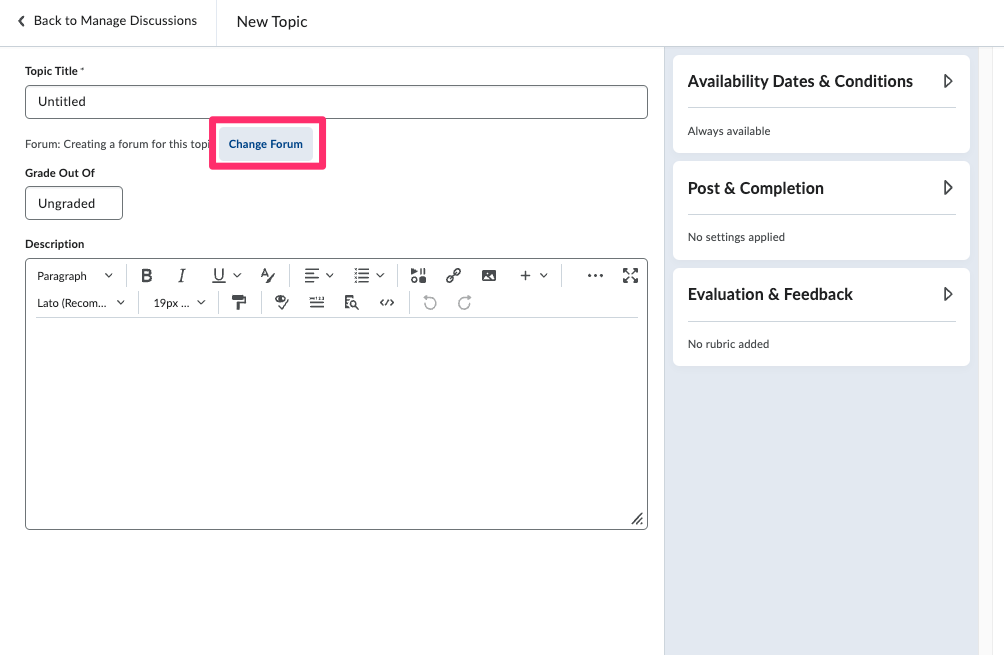
- After you enter a Topic Title, either create a new Forum or choose one you’ve already created by clicking Change Forum.
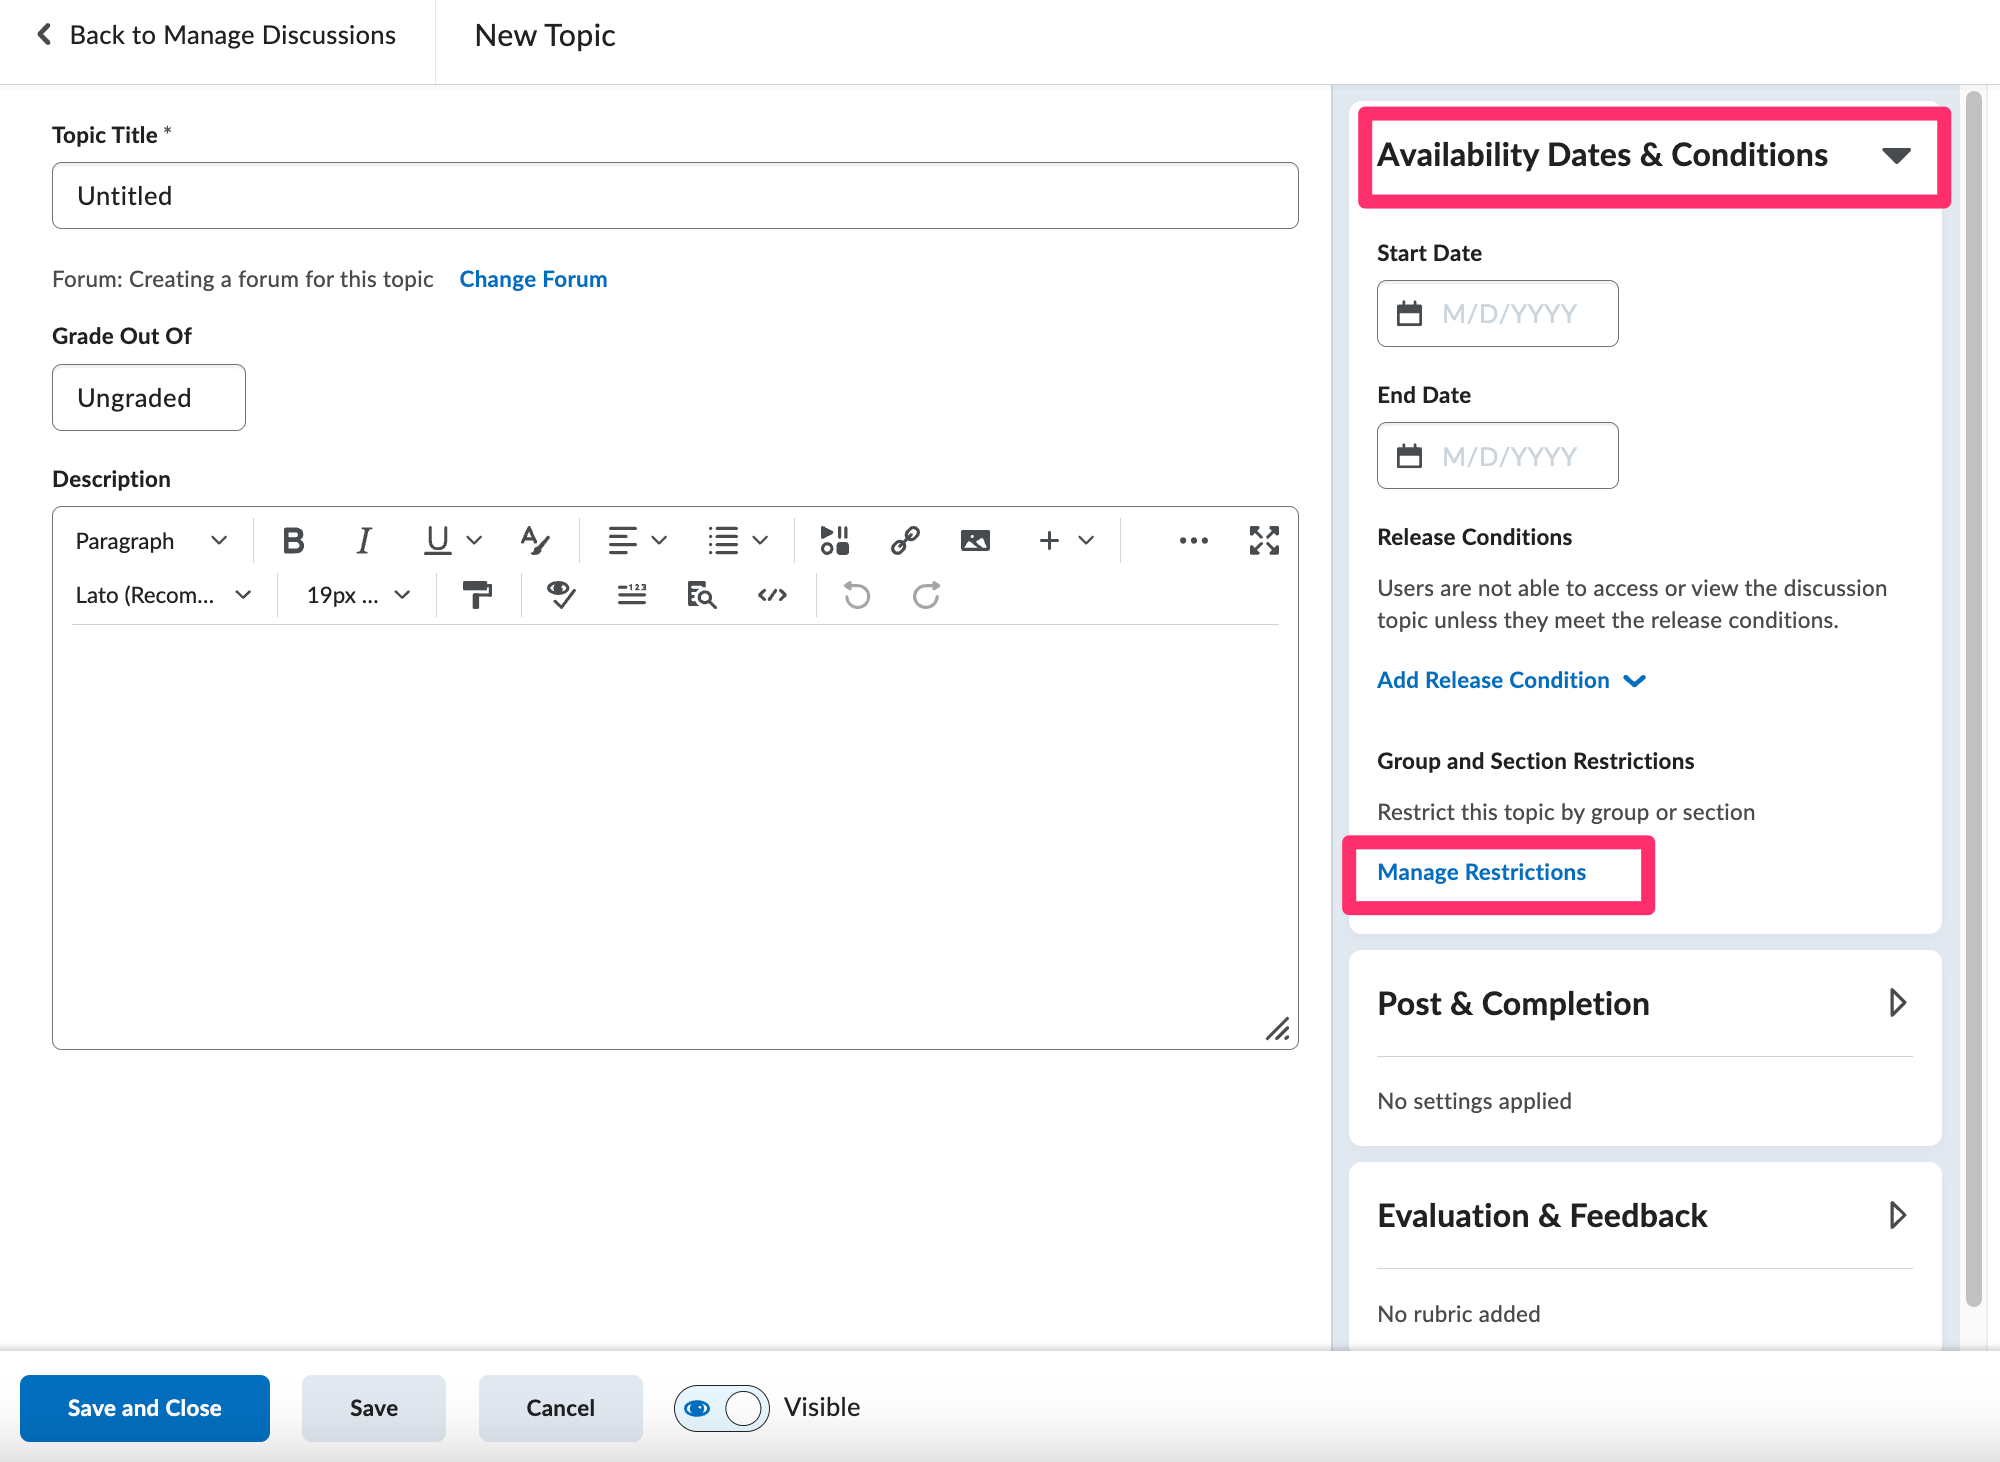
- Next, click Availability Dates & Conditions, then click Manage Restrictions under Group and Section Restrictions.
- On this Group and Section Restrictions screen, you should click Restrict topic and separate the threads. Then under the Group Category or Section, select the Group or Section of your course that you want to use for this discussion.
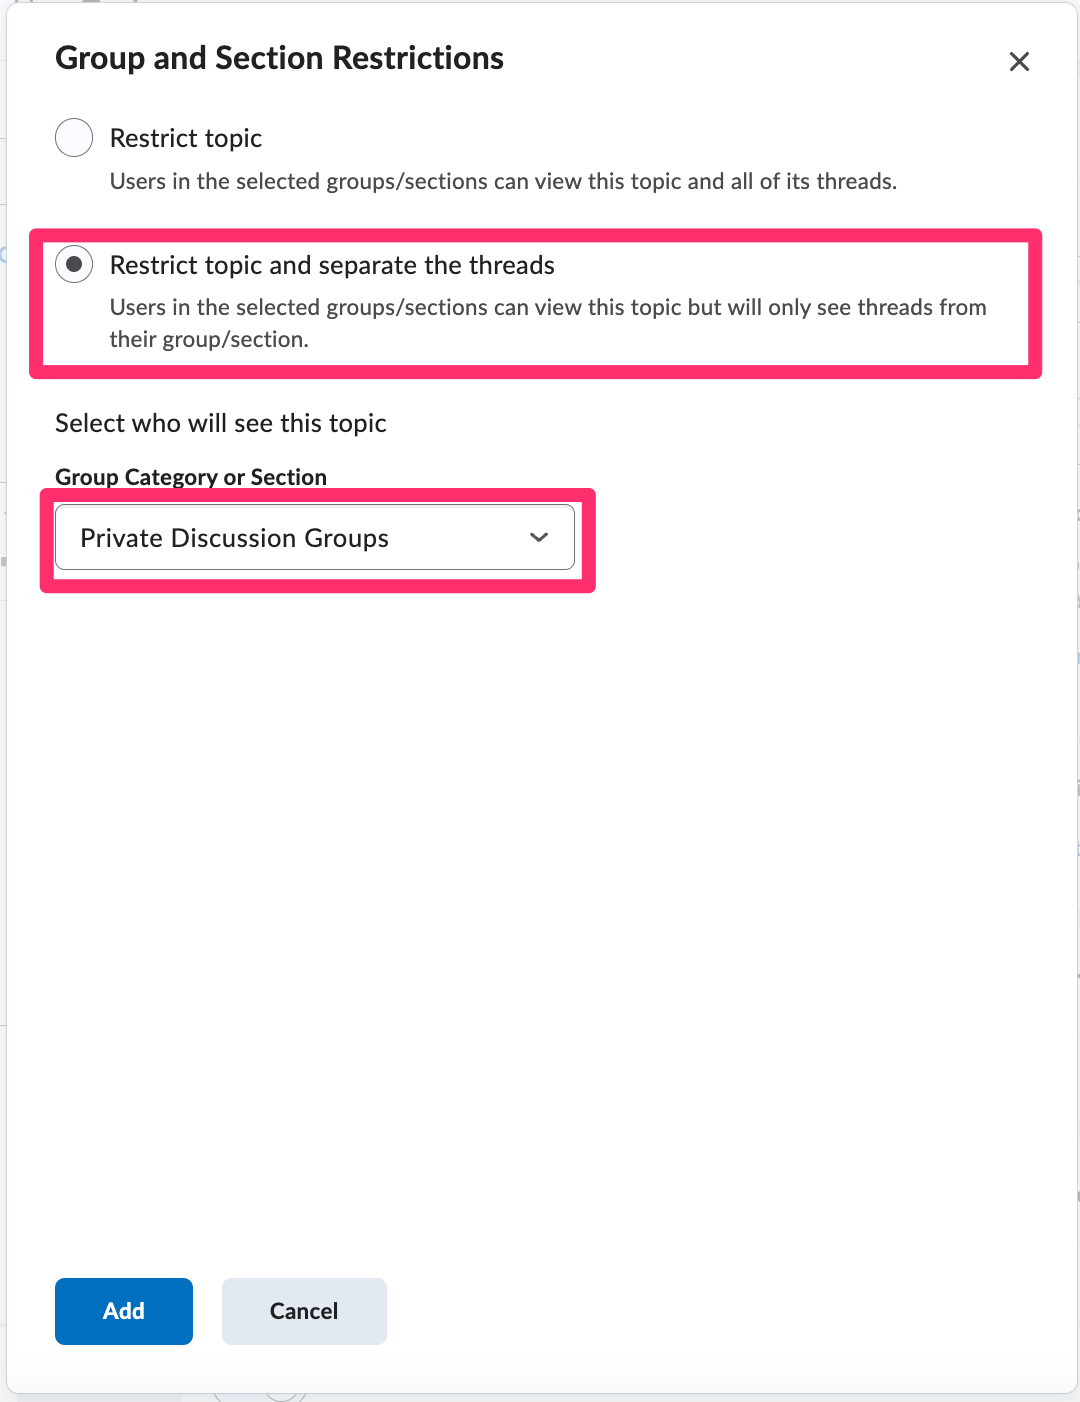
- Click Add to apply your Group or Section Restriction, and then be sure to click Save and Close when you are finished to save your Discussion Topic.