Physics Demo Number: 027 |
Approximate Run Time: 10 min |
|||
The Photoelectric Effect |
||||
Demo DescriptionNegatively charge an overhead projector electroscope by 1) placing a freshly-scraped, slotted mass on the electroscope's round black platform and then 2) rubbing a black plastic rod with fur and dragging the rod over the platform. Illuminate the slotted mass to rapidly discharge the electroscope, or not discharge it at all, depending on the frequency of the light source. Repeat the electroscope charging process with a glass rod rubbed with silk for verification that positively charged objects are not discharged by photo-electron production. |
||||
Scientific Principles
|
|
|
||
Equipment
|
||||
Equipment Location
|
||||
|
|
||||
|
|
||||
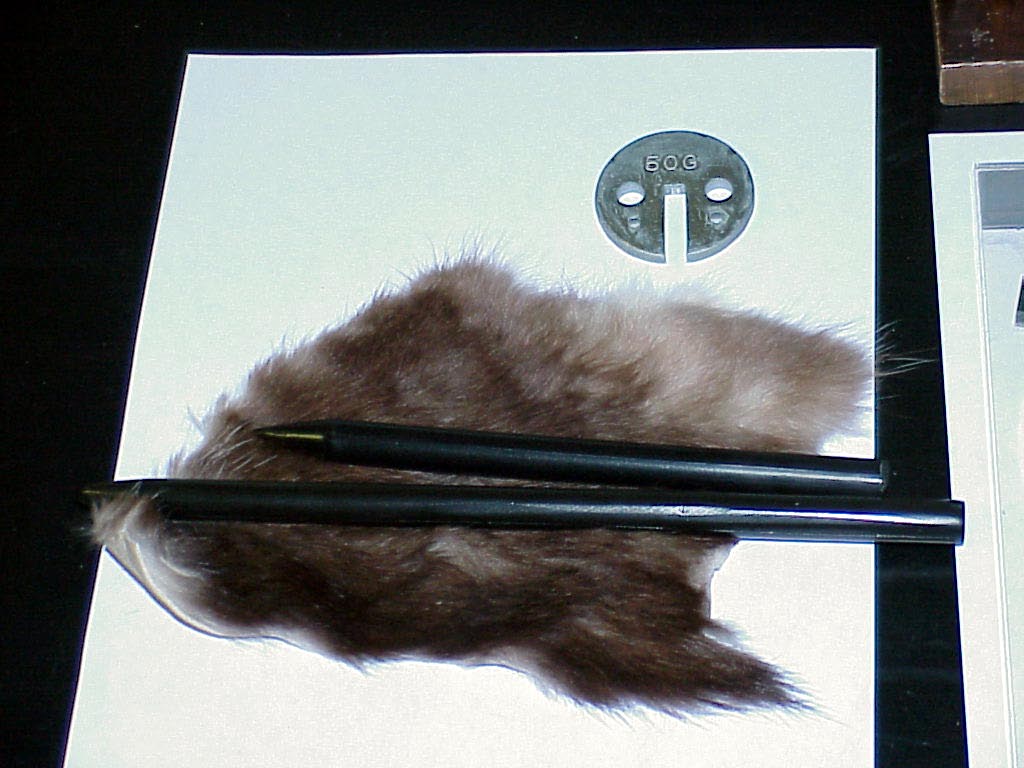
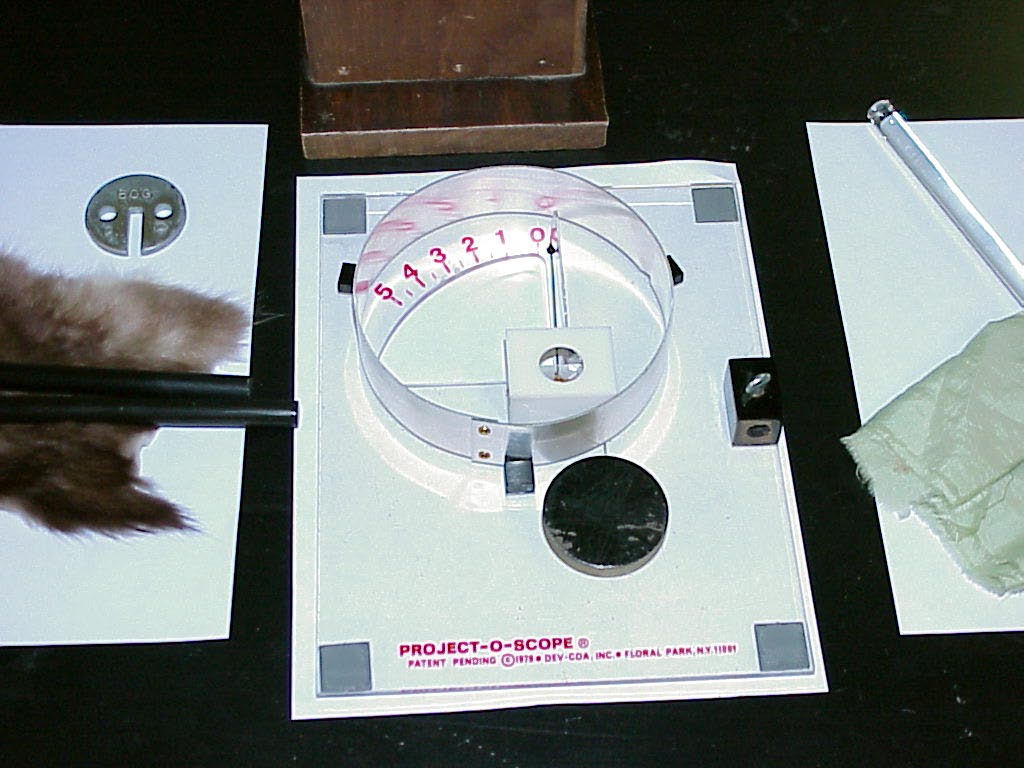
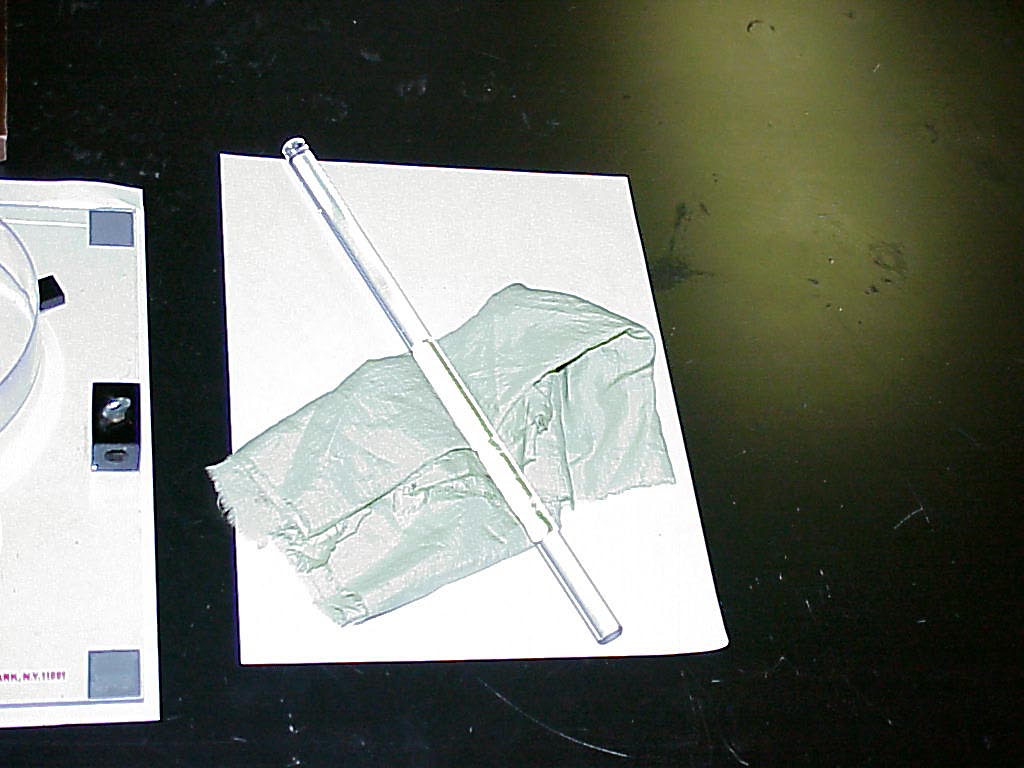
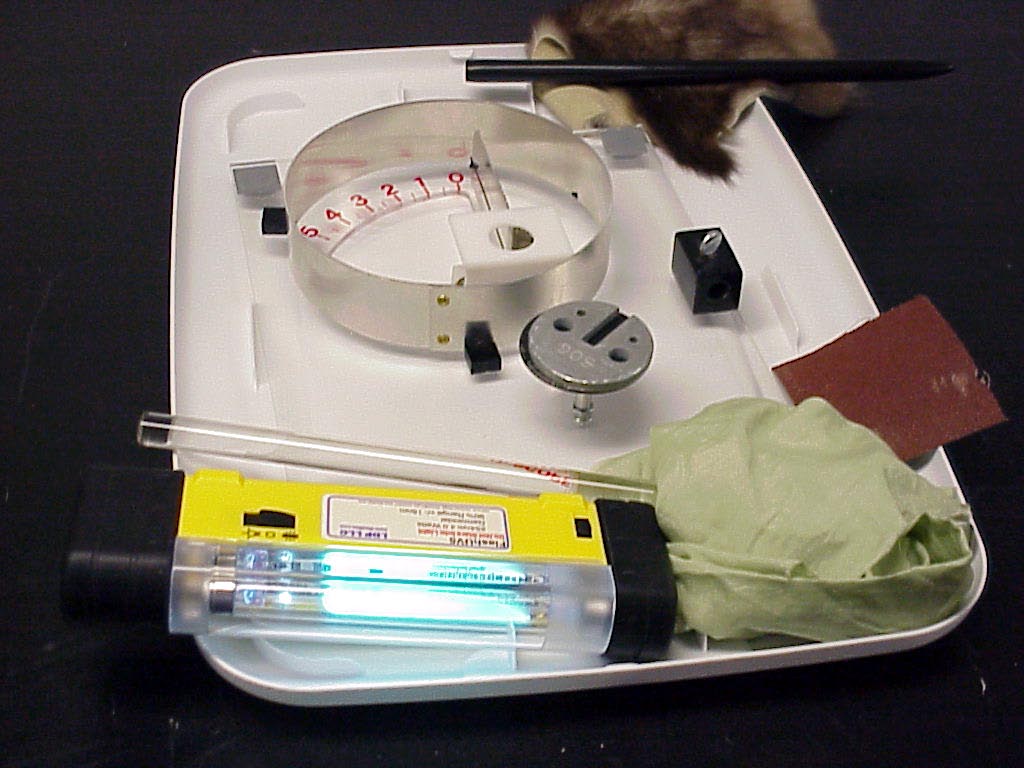
InstructionsOne may show all the qualitative aspects of the photoelectric effect by using the materials depicted in the five photos. One may use the silk and glass rod to place positive charge on the overhead projection electroscope. One may use the fur and plastic rod to charge the electroscope negatively. The heat gun on the Workbench can be used to warm the various components to do away with moisture induced discharging (or failure to charge at all). A necessary condition for satisfactory charging of the electroscope is that it hold the same reading over several minutes if left alone on the overhead. Once satisfactory charging conditions are established, the 50-gram slotted mass can be placed on the black electrode of the electroscope (as in photo four ) with a freshly scraped surface upward. Use a pocket knife or the brown piece of emery paper ( lying to the upper right of the green silk ) in photo four to freshen the surface . Then illumination of the slotted mass surface with the Germicidal Lamp ( switch to right as in photo four ) will lead to rapid discharge of the electroscope, if it has been negatively charged and if the plastic envelope has been removed from over the lamp's glowing tube. Repeat with the flashlight source contained in the same Lamp Housing ( slide the switch to the left in photo four ) to see that white light ,even though quite intense, will not discharge the electroscope. Even the Germicidal Lamp will fail to discharge the electroscope when it has been positively charged, or if the slotted mass has not been provided with a freshly-scraped surface, or if the plastic envelope is not removed from the Germicidal Lamp. |
||||
Writeup created by David A. BurbaCopyright © 2013, Vanderbilt University. All Rights Reserved. |
||||